

How to photograph 28mm miniatures with a phone: our setup, step by step
28mm was far easier to photograph than 10mm. Two LED tube lights, an iPhone on a tripod at 2x and one colour correction gave sharp photos of figures, terrain and bases at ISO 50 to 160. Here's the setup, the settings and the results.

Updated 6 min read28mm

On this page
After the fight to get a sharp photo of a 10mm unit, 28mm was a relief. Same phone, same corner of the shelf, same lights, and nearly every shot was usable straight away. Here's the whole process we used for our painted 28mm figures from Reconquer Designs, terrain and bases, the settings the phone chose, and the photos that came out of it.
- Camera
- iPhone 17 Pro Max, main camera at 2x
- Light
- Two LED tube lights
- ISO
- 50 to 160
- Editing
- One colour correction, a gentle crop
Why 28mm is so much easier than 10mm
- More pixels on the model. A 28mm figure is roughly three times the height of a 10mm one, so at the same distance it covers about nine times as many pixels. The phone has real detail to work with instead of guessing.
- The right camera turns up by itself. At 2x the phone stays on its main camera, its best one, with no digital zoom. With 10mm we had to fight it off the ultra-wide.
- More of the model is in focus. Because you don't have to get as close for the model to fill the picture, the sharp zone is deeper, so a figure's face and its base are sharp in the same shot.
- A crop is fine. We cropped every photo here a little to frame the model, and each crop still kept about 2,500 × 1,900 real pixels: more than any web page needs. At 10mm the same crop ruins the picture.
The setup
Nothing here is special kit. It's a corner of a bookshelf:
- Two LED tube lights. One rests across the top, above and a little in front of the model; the other lies along the front edge of the shelf, low down, filling in the shadows under hat brims and inside cloaks. A long tube spreads its light along its length, so it's soft without a diffuser.
- A black turntable against a dark, curved backdrop, so the background fades smoothly from grey to black with no edge.
- The phone in a clamp on a small tripod, in the middle between the two lights, pointing slightly down at the model.
Turn the room lights off, so only the tubes light the model and the colours stay even.
The camera and the settings it chose
Every photo in this article came from an iPhone 17 Pro Max with the camera app set to 2x. That's a crop of the middle of the main camera's 48-megapixel sensor, so it frames like a 48 mm lens, keeps the main camera's bright f/1.78 aperture and still saves a full 12-megapixel photo with no digital zoom.
| Setting | What the phone used |
|---|---|
| Camera | Main (wide) camera, 2x |
| Framing | 48 mm (35mm equivalent) |
| Aperture | f/1.78 |
| ISO | 50 to 160 |
| Shutter | About 1/50 s |
| Exposure | Left at 0 |
| Format | HEIC, 4032 × 3024 |
We didn't touch the exposure for 28mm. With the model bigger in the frame and less black backdrop around it, the brightness came out right without it.
The one thing that still went wrong
Twice in the session, both times on the tent, the phone switched to its ultra-wide camera without warning because it decided the tent was close enough for macro. The ISO jumped from 80 to 250 and the picture changed completely:
 Main camera, ISO 80
 Ultra-wide, ISO 250
The fix is the same as at 10mm: turn off automatic macro switching in the camera settings, and if a shot looks odd, swipe up on it in Photos to see which camera took it.
Step by step
-
Clean the model and the turntable
Blow off dust and loose flock, and run a lint roller over the turntable. At 28mm a speck is less obvious than at 10mm, but it still shows on a dark backdrop.
-
Lights on, room lights off
Both tube lights on, nothing else. Mixing in a warm ceiling light gives one side of the model a yellow tint.
-
Set the phone to 2x and frame with some room
Put the model in the middle of the turntable and move the tripod until the model fills about half the height of the picture. Leave room around it: a gentle crop later is fine at 28mm, and room lets you turn the model without re-framing.
-
Tap to focus on the face
Tap the model's face (or the front of a piece of terrain) so that's the sharpest part. On a figure, a sharp face matters more than anything else.
-
Take every side
Use the self-timer, take the shot, then turn the turntable and go again: front, three-quarter, side and back. We took three or four photos of each figure in under a minute.
-
Film a slow spin
While everything's set up, film the turntable doing a slow full turn. Ours run about 18 seconds each, and make the best short videos for social media.
-
Colour-correct and crop
Phone photos look flatter on a computer than on the phone, so raise the black point a little, take the shadows down a touch and add a little colour (the 10mm article shows how much). Then crop gently to frame the model.
The results
Here's what came out of that one setup, after the colour correction and a crop. Nothing else was done to them.


And here's the archer at full size, pixel for pixel. This is the detail a 28mm photo can hold when the light is right: the creases in the coat, the fletchings in the quiver and the frayed fibres of the bowstring.

Bases and terrain
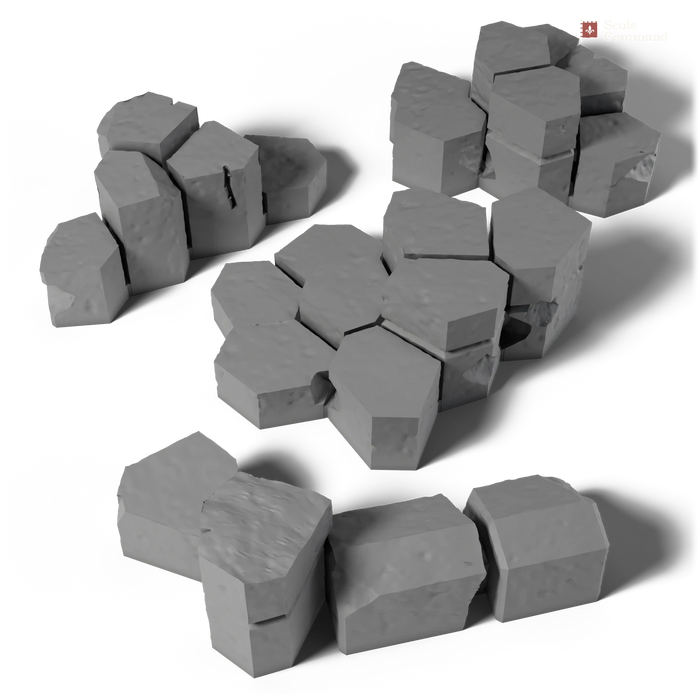
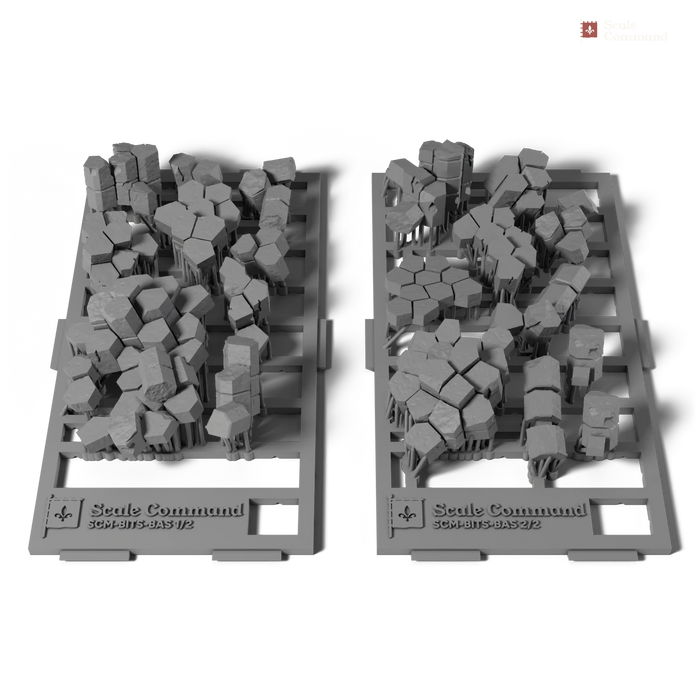
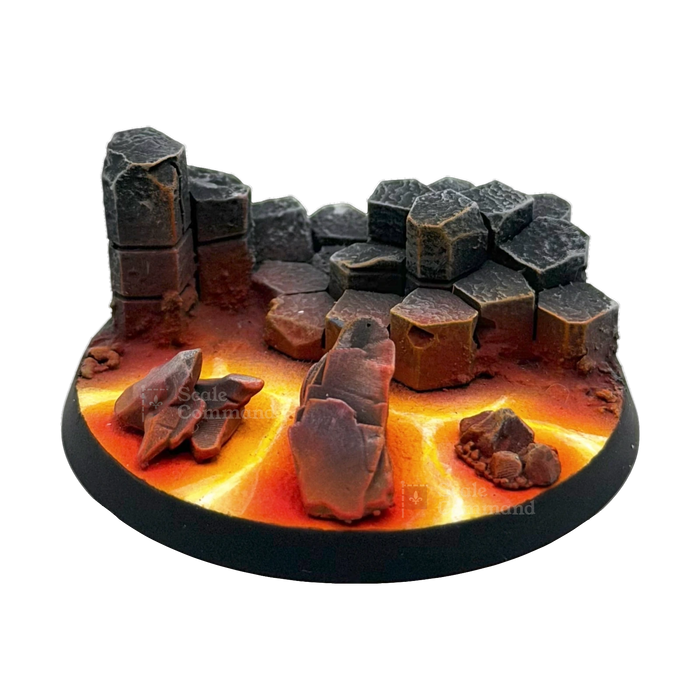
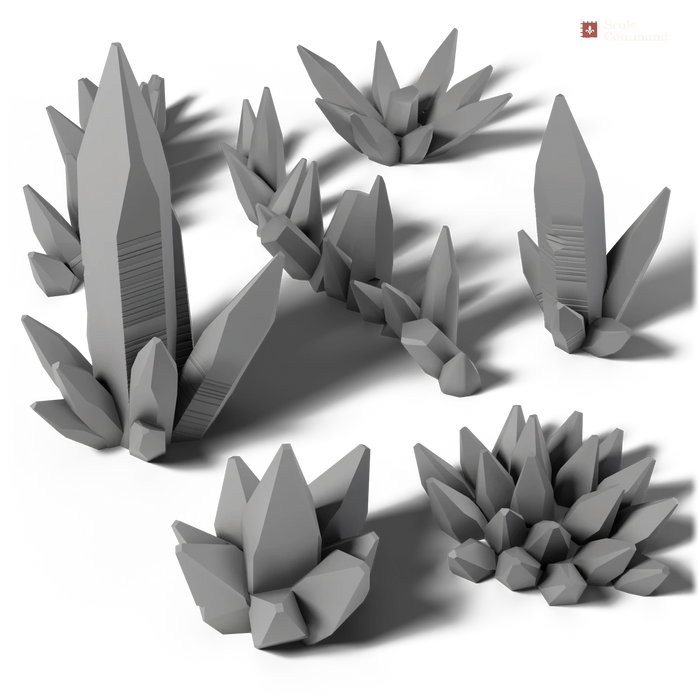
Bases and terrain photograph the same way, but tilt the phone further down: the top surface is the point. For the pictures on our home page and product pages we go one step further and cut each base out of its photo:
- Stand the base on plain white card instead of the black turntable, so its dark rim shows up clearly against the background.
- Take the photo, then one more of the empty card from exactly the same spot (the "blank").
- The difference between the two is the base, rim and all, so it lifts out cleanly with no guessing at the edges.
- Colour-correct it like any other photo, and scale every base in a set to the same width so they read at one size.
 Dwarven ruin
 Lava field
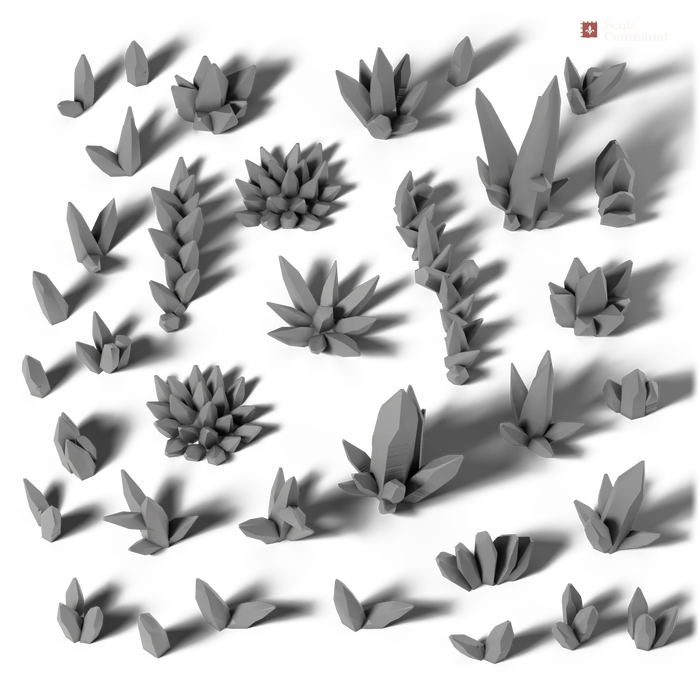
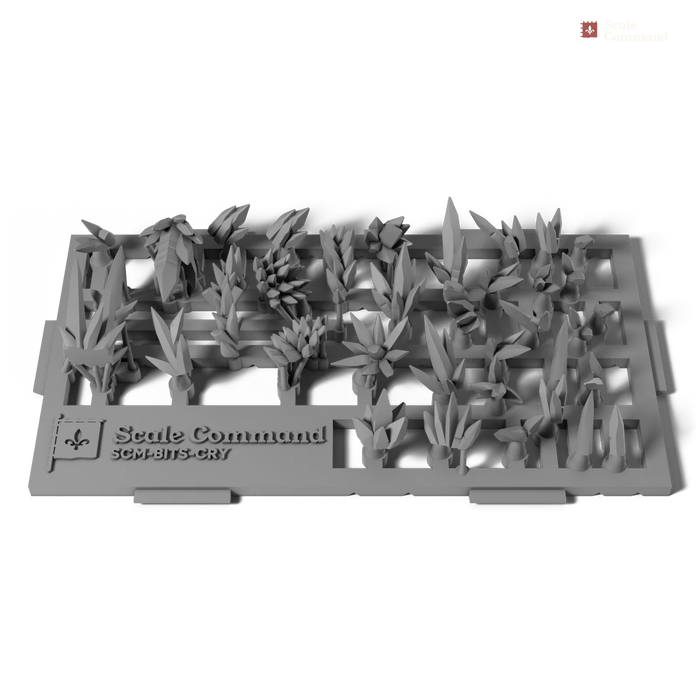
 Crystal outcrop
The 28mm photo checklist
- Dust off the model, lint-roll the turntable.
- Two soft lights, one above and one low in front. Room lights off.
- Phone on a tripod at 2x, automatic macro off.
- Model about half the height of the frame, tap to focus on the face.
- Self-timer; front, three-quarter, side and back.
- Film one slow turn of the turntable.
- Check a shot's details: main camera, ISO under 200.
- Colour-correct, crop gently, and check it on a computer.
Want models that look like this? Our 28mm figures and terrain can be ordered painted by our studio, or unpainted, ready for your own brushes and your own camera.
Shop 28mm-
 Archers
-
Archers
-


Questions and answers
- How do you photograph 28mm miniatures with a phone?
- Put the miniature on a dark turntable with two soft lights, one above and one low in front, and the room lights off. Set the phone on a tripod to 2x, tap to focus on the face, use the self-timer, then colour-correct the photo and crop it gently.
- Which zoom setting is best for 28mm miniatures?
- On most recent phones, 2x is the best zoom for 28mm miniatures. That keeps the phone on its main camera, which has the biggest sensor and the brightest lens, with no digital zoom. Turn off automatic macro switching so the phone doesn't jump to the weaker ultra-wide camera.
- Is 28mm easier to photograph than 10mm?
- Yes, much easier. A 28mm figure covers about nine times as many pixels as a 10mm one at the same distance, more of it is in focus, and a gentle crop afterwards still leaves plenty of detail. The same phone and lights that struggle with 10mm give sharp 28mm photos.
- What lights do you need to photograph miniatures?
- Two soft lights are enough for 28mm miniatures. We use two LED tube lights, one above and a little in front of the model and one low in front to fill the shadows. Turn the room lights off so the colours stay even and the phone can keep its ISO low.
Shop this article
-
Archers
-
Archers
-
-
 New
-
New
-
New