

Crystal Mineshaft Base Tutorial
Build an abandoned mineshaft base with rough grey stone, a painted timber hatch and teal crystals. Follow the video from dry-fitting to varnish, with a brush-glaze option for the crystal gradient.

2 min read28mm

On this page
I wanted the teal crystals to stand out against the dark rock and leave enough room for a miniature in the middle. This abandoned mineshaft base uses textured paste, a couple of rocks and a painted timber hatch. The best time to find the flat spot is while all the pieces are still loose.
Watch the crystal mineshaft tutorial
The video runs just over a minute, with Jess talking through each step, and ends with a dwarf standing on the finished base.
Dry-fit the layout
Set the timber, rocks and crystal clusters on the base before gluing anything. Leave a flat spot wide enough for the miniature’s feet, then turn the base and check it from the front. Moving a tall crystal off to one side keeps the centre open and lets you see the timber behind it.
Rough up the ground
Spread texture paste over the base and work it around a couple of rocks. Stipple the paste with an old brush to break up the tool marks. Keep the standing area level and clear excess paste off the rim while it’s easy to move.
Paint the timber hatch
Basecoat the timber brown, then give it a wash to darken the gaps between the boards. Once the wash is dry, drybrush across the raised grain. Use a fine brush to pick out the edges of the boards and braces. The pale edge marks show up best when you leave the recesses dark.
Colour the crystals
Start with a teal basecoat and fade towards a warm off-white at the tips. I used an airbrush for the gradient. With a brush, mix a little of the off-white into the teal and thin it into a glaze. Build the pale colour in thin layers, working towards the tips and letting each layer dry. Finish with a fine, light edge highlight along the sharp facets.
Paint the ground and rocks
Start close to black and drybrush a few shades of grey, getting lighter with each pass. Keep the lightest pass on the raised areas so the dark colour stays in the texture. Edge highlight the most prominent rocks to bring out their shape beside the crystals.
Fit the pieces and finish the rim
Fit the timber and crystals where you planned them and touch up the ground around each join. Paint the rim black for a clean edge, then give the base a coat of matte varnish.
-
 New
-
New
-
New

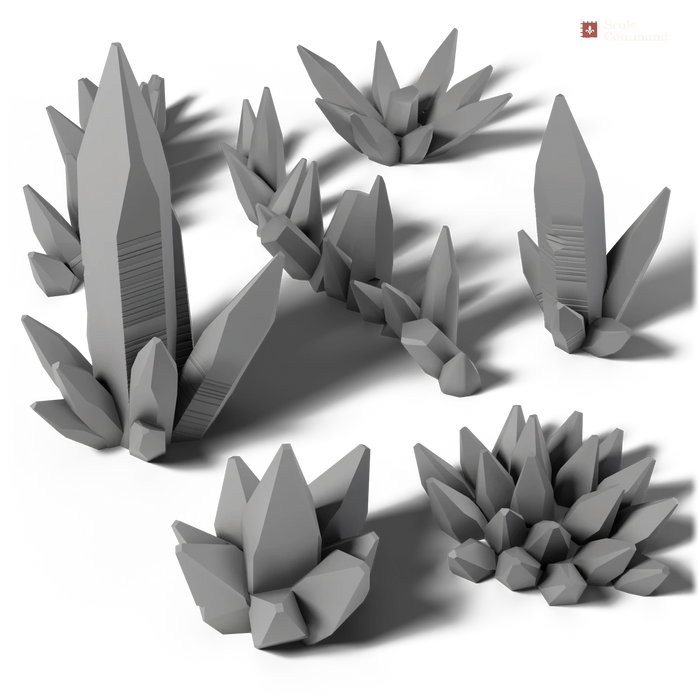
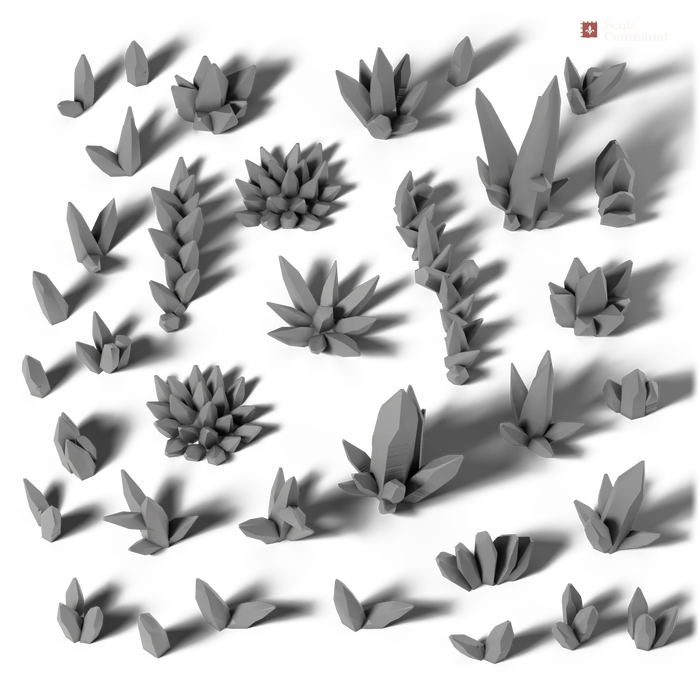
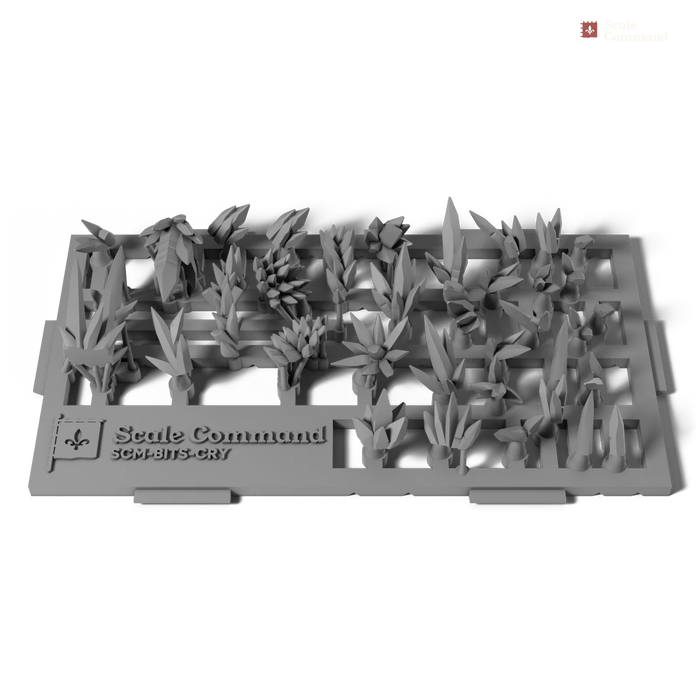


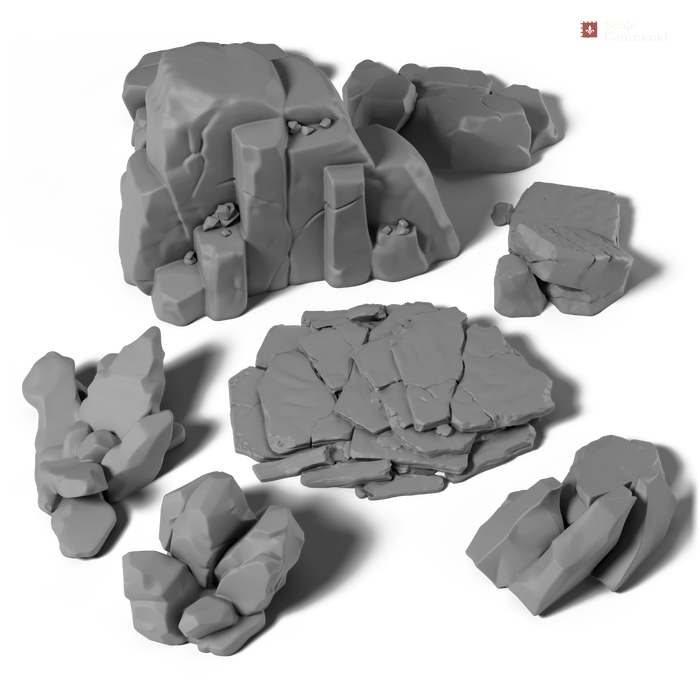
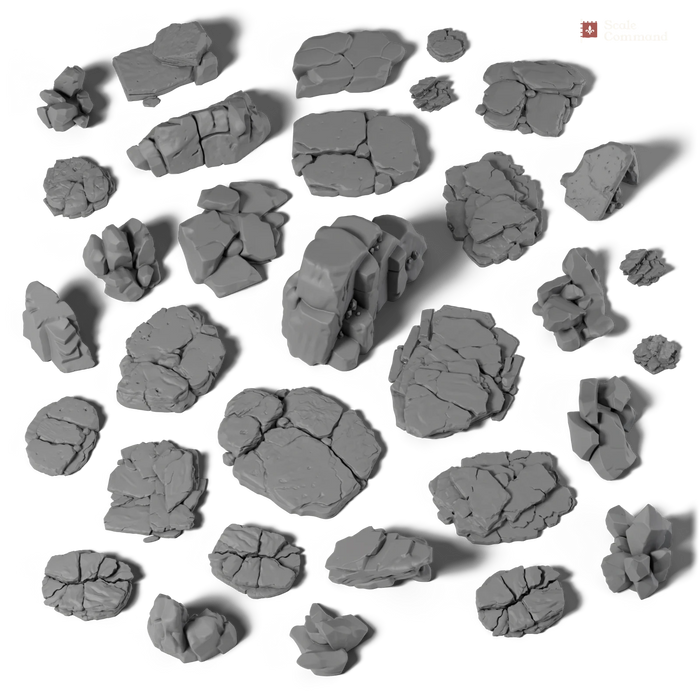
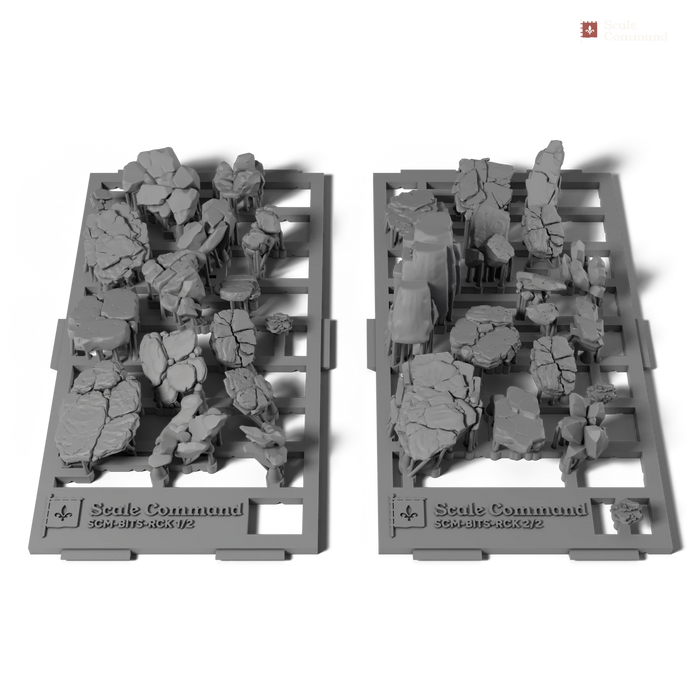


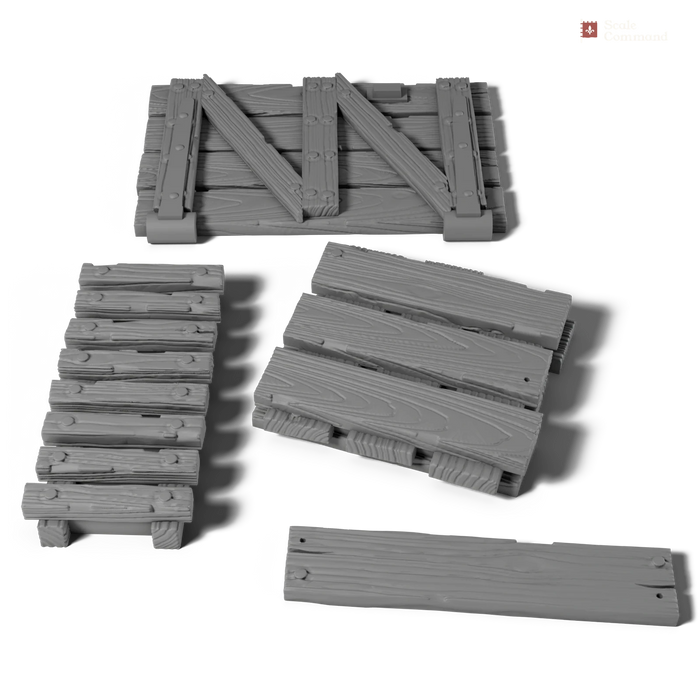


Browse our basing bits if you want to try this layout. Taking the model to an event? See are basing bits tournament legal? For an exclusive invite to chat with the two of us behind Scale Command and give us feedback, join our Discord.
Questions and answers
- Can I paint the crystal gradient without an airbrush?
- Yes. Start with a teal basecoat, then mix a little warm off-white into the teal and thin it to a glaze. Build the paler colour in thin layers towards the tips, letting each layer dry before the next. Finish with a fine, light edge highlight along the sharp facets of each crystal.
- How do I leave room for the miniature on a scenic base?
- Dry-fit the miniature and the scenery while every piece is still loose. Check where the feet sit, move tall pieces such as crystals off to one side, and keep that standing area flat and level as you spread and stipple the texture paste around the rocks.
- How do I get rough ground with texture paste?
- Spread the paste over the base and around the rocks, then stipple the surface with an old brush before it sets to break up the tool marks. Once it has cured, paint it close to black and drybrush a few shades of grey over the raised parts.
- How do I make the timber grain stand out?
- Basecoat the timber brown, wash the gaps between the boards and let the wash dry fully. Drybrush across the raised grain, then use a fine brush to pick out the edges of the boards and braces. Leaving the recesses dark makes the pale edges show.
Shop this article
-
New
-
New
-
New
-
New