

How to set up a paint station that grows with your collection
A good paint station keeps paints upright and in view, brushes and tools within reach, and the light bright and even. Here's how to store pots and dropper bottles, light your desk, and lay out a Paint Hive rack that grows with your collection.

Updated 6 min read

On this page
A good paint station keeps every colour in sight, your brushes and tools within reach, and the model you're working on safe between coats. It doesn't need to be big or expensive, but it does need to grow with you, because a paint collection only ever gets bigger. Here's how to set one up: storing pots and dropper bottles, light, a wet palette and tools, plus four layouts you can copy with our Paint Hive racks.
- Paint Hive fits
- Citadel pots or Army Painter droppers
- One hive holds
- 25 pots or 30 dropper bottles
- Made from
- Grey PLA
- Depth
- 166 mm, every piece
How do you set up a miniature painting station?
Start with the four things you reach for every few seconds: your paints, your brushes and water, a palette, and good light. Put the paints along the back of the desk where you can read every label without moving anything, your water and palette on the side of your painting hand, and the light high and slightly in front of you so your hand doesn't shadow the model. Everything else, like spare bases, glue, files and clippers, can live a little further away, but it should have a home so it's not buried in the clutter when you need it.
How should you store miniature paints: pots or dropper bottles?
Paint comes in two kinds of container. Pots, like Citadel (Warhammer Colour) paints, are wide with a flip lid; you dip the brush straight in or scoop paint onto a palette. Dropper bottles, like The Army Painter's, Vallejo's and AK's paints, are taller and narrower; you squeeze out a drop at a time, which wastes less and keeps the paint fresher.
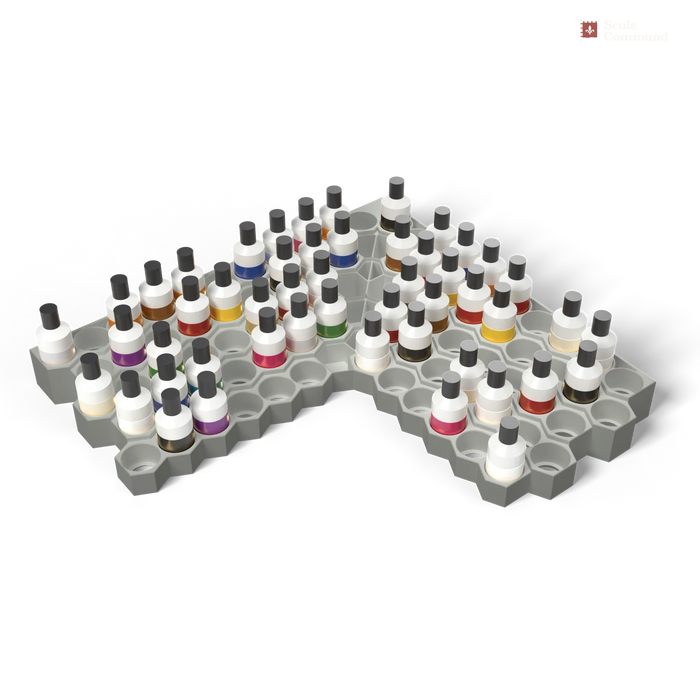
Either way, store them upright, with every label facing you, and out of direct sun. A stepped rack beats a flat drawer because each row stands higher than the one in front, so nothing hides behind anything else. Our Paint Hive comes in a version for each:
- Paint pots: wells 34 mm across and 12 mm deep, sized for Citadel pots, 25 to a hive.
- Dropper bottles: wells 29 mm across and 20 mm deep, sized for Army Painter bottles, 30 to a hive.
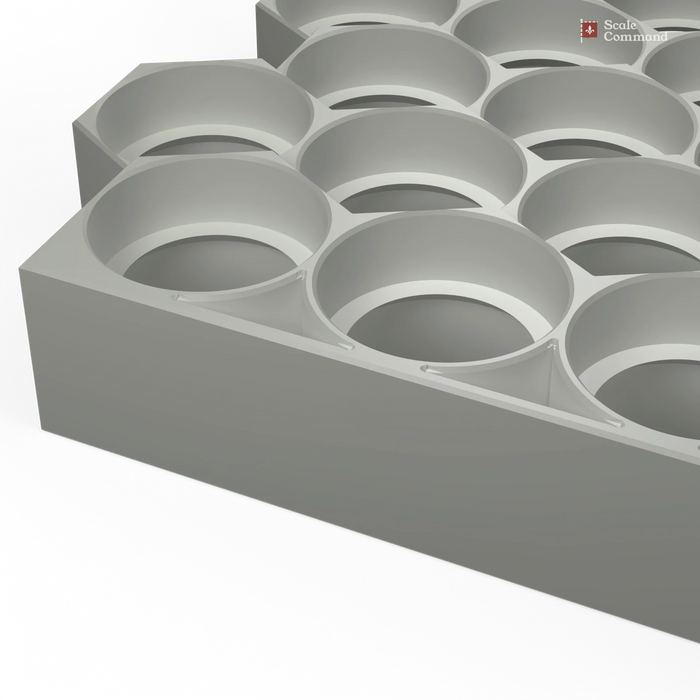
Each pot or bottle stands on a ring at the bottom of its well, so it can't drop through, and anything up to the well's size fits. Measure across your bottles before you choose. Both versions are 166 mm deep, so a pot hive and a dropper hive line up front and back along the same wall if you have both kinds of paint.


How many paints do you need, and how many wells?
A starter collection is usually 10 to 20 paints: a black and a white, a few base colours for your army, a metal or two, a brown and a black wash. It grows fast from there, so count what you have, add half again, and plan for that. Here's what each Paint Hive piece holds.
| Piece | Paint pots | Dropper bottles | What it's for |
|---|---|---|---|
| Paint Hive | 25 | 30 | The main rack: five stepped rows |
| Riser | +10 | +12 | Two more rows behind a hive |
| Corner | 16 | 18–20 | Turns a run round a corner, with tool trays |
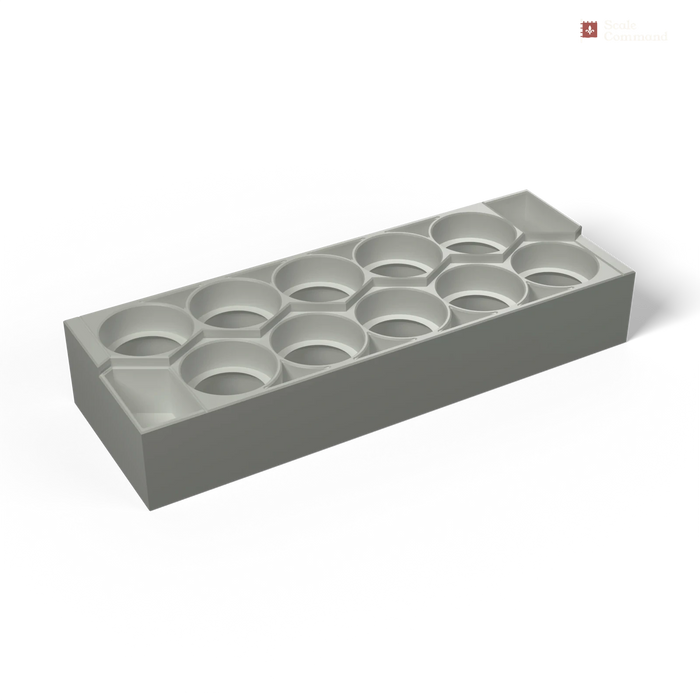
| Tool Rack | 3 | 3 | Brushes, knives, cutters and tweezers |
Four layouts to copy
The starter: one hive, 25 pots
One Paint Hive. It's 198 mm wide, fits at the back of any desk, and holds a starter collection with room to grow. When it fills up, the next hive butts onto the side with no gap.
The desk run: paints and tools in one line
Two hives with a Tool Rack between them: 50 pots, plus 21 brush holes, nine holes for knives and files, slots for cutters and tweezers, and three trays. Every Paint Hive piece is cut from the same honeycomb, so they join with no gap and no double wall.

The tall run: 35 pots on the same width
Stand a Riser behind a hive. Its rows carry on the hive's steps, 4 mm higher each row, so the paints keep stepping up and a 25-pot hive becomes a 35-pot rack without taking any more desk width.

The corner desk: round two walls
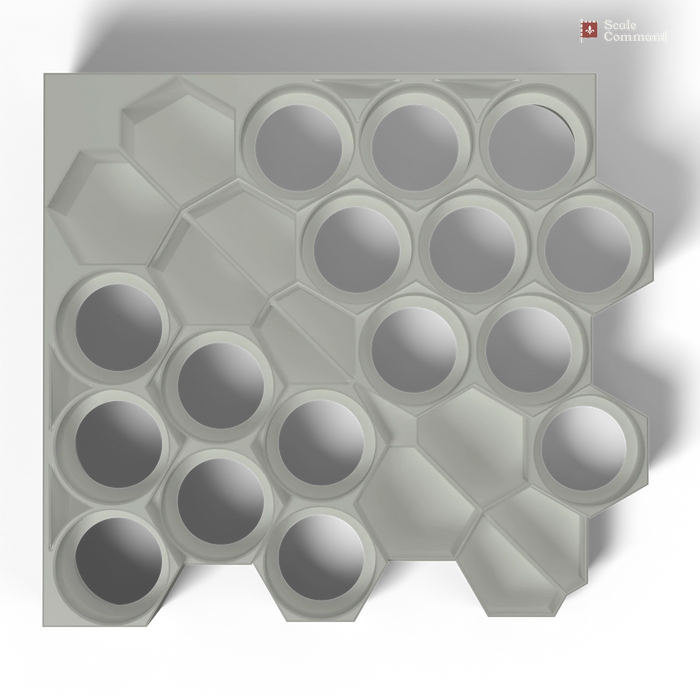
Run hives along one wall, turn the corner with a Paint Hive Corner, and carry on along the other. The two honeycombs meet on a 45° mitre, like a picture frame, and the cells the mitre cuts become trays for brushes and bits. Pick a left-hand or right-hand corner by which side of you the corner is on.

What's the best paint station for a small space?
Go up, not out. A single Paint Hive with a Riser behind it holds 35 paint pots or 42 dropper bottles in 198 mm of desk width, and it lifts off the desk in one piece if you paint on the kitchen table and pack away after.
Brushes, tools and the model you're painting
Brushes last longest stored upright, bristles up, and dry. The Tool Rack's hex holes take them, or a Brush Tube drops into any paint well, alongside a Tool Cup for knives and tweezers, a Bits Tray for magnets and pins, and a Mixing Dish for thinning paint. You can move the inserts around as your paints change. The Tool Rack also has wells for glue and holes for files and knives; see all our hobby accessories.
Hold the model by a handle, not by its base or its spear. Stick the base to a cork, an old paint pot or a painting handle with a blob of poster putty, and hold that instead; between coats, stand it somewhere it can't be knocked.


What lighting do you need for painting miniatures?
Painting light should be bright, even and true to colour, so the colours you mix at night match what you see in daylight. Look for a daylight lamp of about 5000 to 6500 K with a high colour rendering index (CRI 90 or more), on an arm you can move. Two lamps, one each side, kill the shadow your hand throws.
Do you need a wet palette?
You don't need one to start, but you'll probably want one later. A wet palette is a shallow tray with a damp sponge under a sheet of baking paper; paint on top stays wet for hours instead of drying in minutes, which saves paint and makes thin layers and blending much easier. A dry palette, or the Mixing Dish insert, is fine for washes and quick jobs.
Printed to order in grey
Every Paint Hive piece is printed to order in grey PLA in our Perth workshop, so a rack you add to later matches the one you already have. A neutral grey also lets the colours of your paints stand out. Why they're printed in filament rather than resin: resin vs filament.
-
 New
-
New
-
New






Questions and answers
- How do you set up a miniature painting station?
- A miniature painting station needs paints stored upright and in view along the back of the desk, water and a palette beside your painting hand, and a bright daylight lamp in front. Keep brushes upright in a rack, and give glue, clippers, files and spare bases their own spot within reach.
- Should you store paints in pots or dropper bottles?
- Paint pots and dropper bottles both keep well stored upright, out of the sun, with labels facing out. Droppers waste less paint and dry out more slowly; pots let you dip a brush straight in. Many painters own both, so a rack system with a version for each is useful.
- What lighting is best for painting miniatures?
- The best lighting for painting miniatures is a bright daylight lamp of about 5000 to 6500 K with a high colour rendering index of 90 or more, on an adjustable arm. Two lamps, one on each side, remove the shadow your painting hand casts on the model.
- Do you need a wet palette?
- A wet palette isn't essential for a beginner, but most painters end up using one. A damp sponge under a sheet of baking paper keeps paint wet for hours, which saves paint and makes thin layers and blending easier. A dry palette is fine for washes and quick jobs.
- How many paints do you need to start painting miniatures?
- Most painters start with 10 to 20 paints: a black, a white, base colours for their first army, one or two metals, and a brown and a black wash. A paint collection grows quickly, so plan a paint rack for about half as many paints again as you own.
Shop this article
-
New
-
New
-
New
-
New
-