

How to base miniatures: texture, basing bits and tufts, step by step
Basing a miniature takes about an hour: glue on the bits, add sand or texture, basecoat, wash, drybrush, paint the rim, varnish and add tufts. Here's each step with the paints we use for 28mm bases, plus the simpler way to base 10mm and 15mm stands.

Updated 7 min readAll scales

On this page
A good base is the quickest way to make a miniature look finished. It ties a unit together on the table, hides the join between figure and base, and gives your model a place in the world: a muddy field, a ruined street, a rocky hillside. This is our step-by-step for a classic earth-and-rock base, with the paints we use and cheaper swaps, for 28mm bases, plus the simpler way to base 10mm and 15mm stands.
- Time
- About an hour, plus drying
- Level
- Beginner
- Works on
- 28mm bases (10mm and 15mm: see below)
- Paints
- 9, plus 2 washes
What do you need to base miniatures?
Paint names are Warhammer Colour (Citadel), with The Army Painter swaps where there's a close one. The colour dots are a guide only: paint looks different on every screen.
Bases and bits
- See all our basing bits and plates
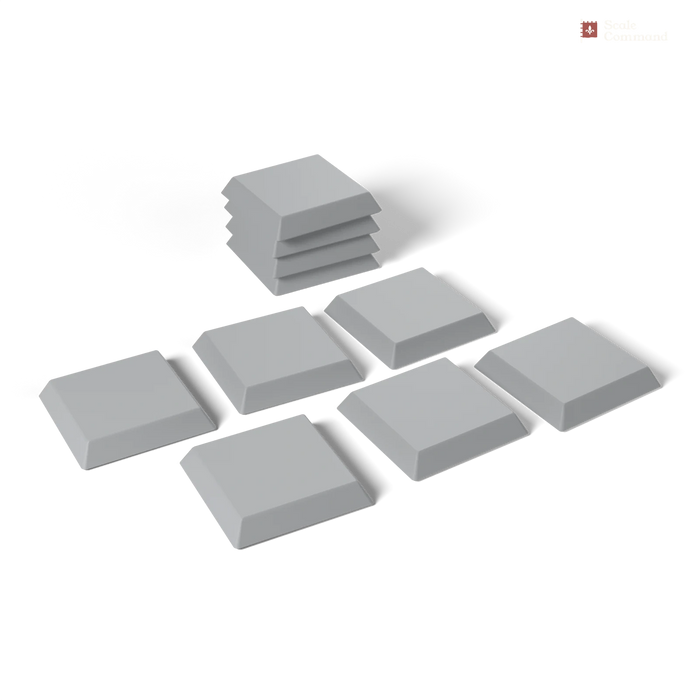
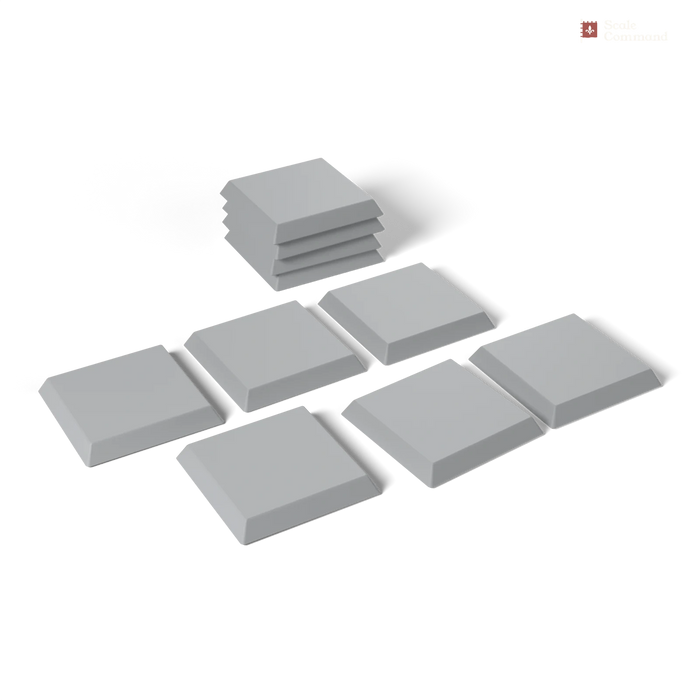
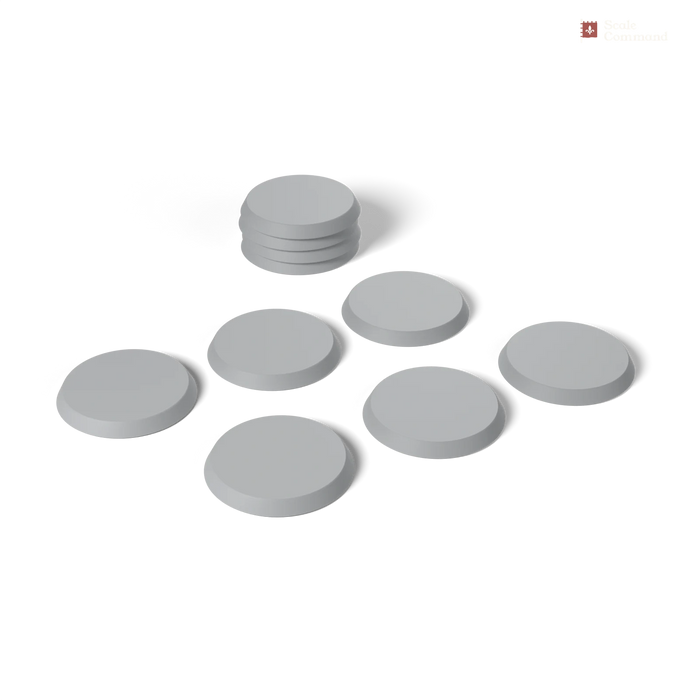
- Round Bases, Square Bases or Oval Bases for 28mm
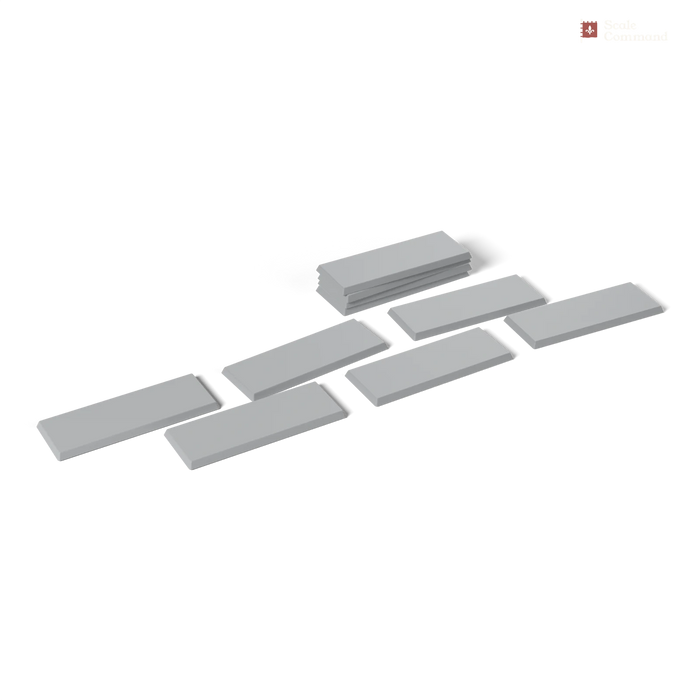
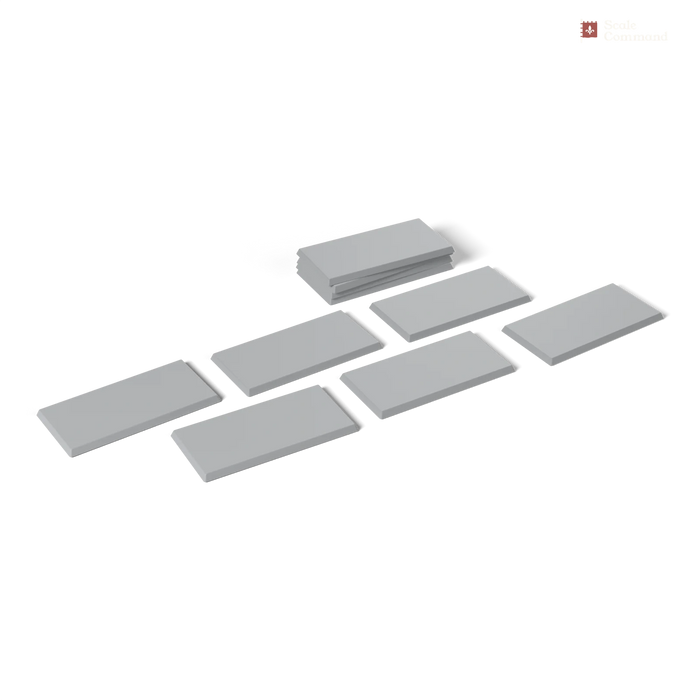
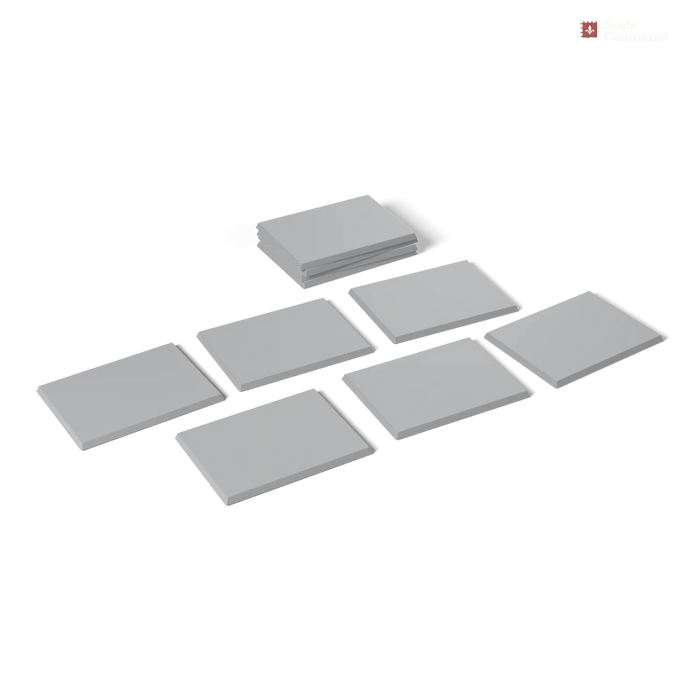
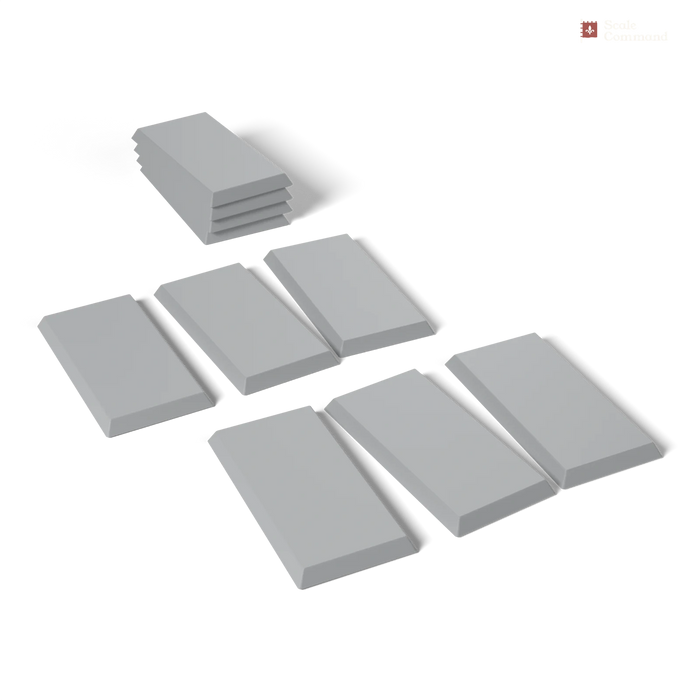
- Movement Plates for 10mm and 15mm
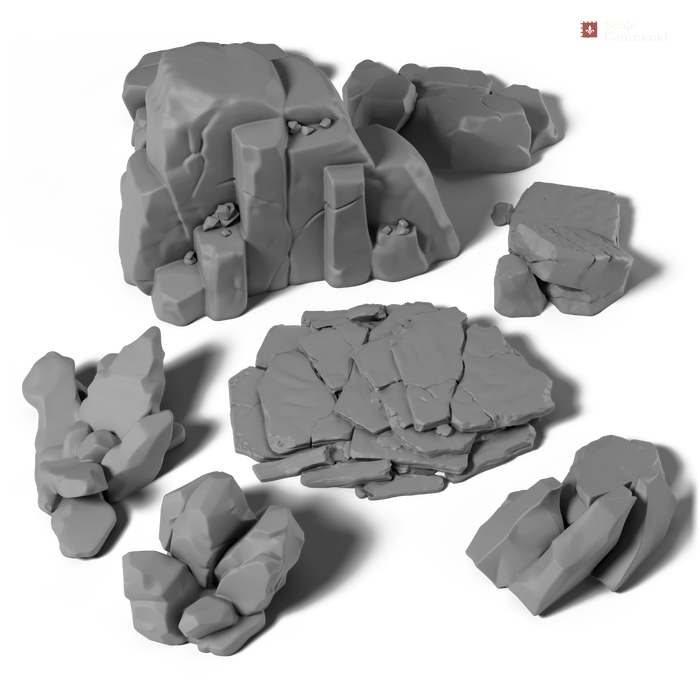
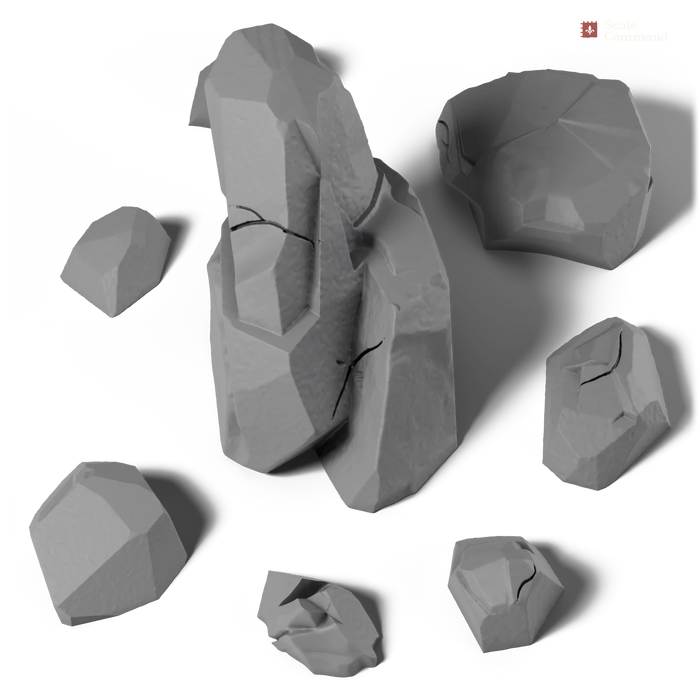
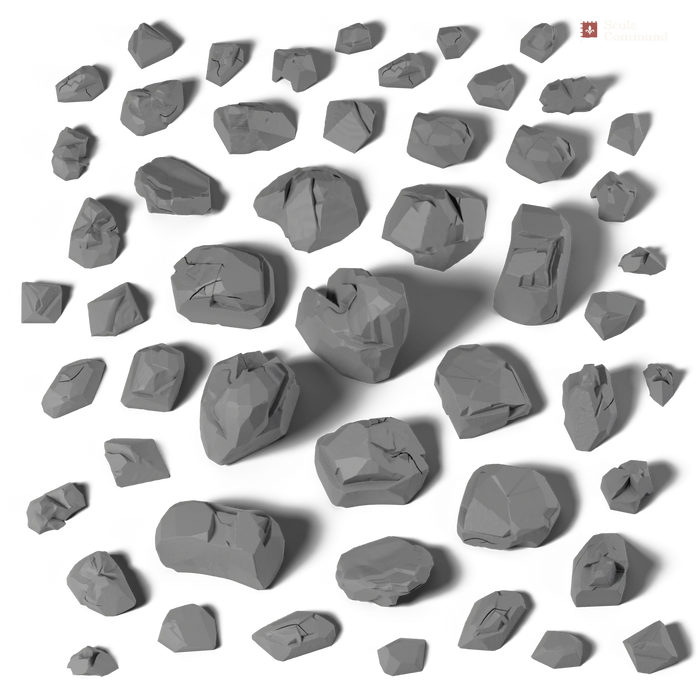
- Rock Clump and Small Rock basing bits
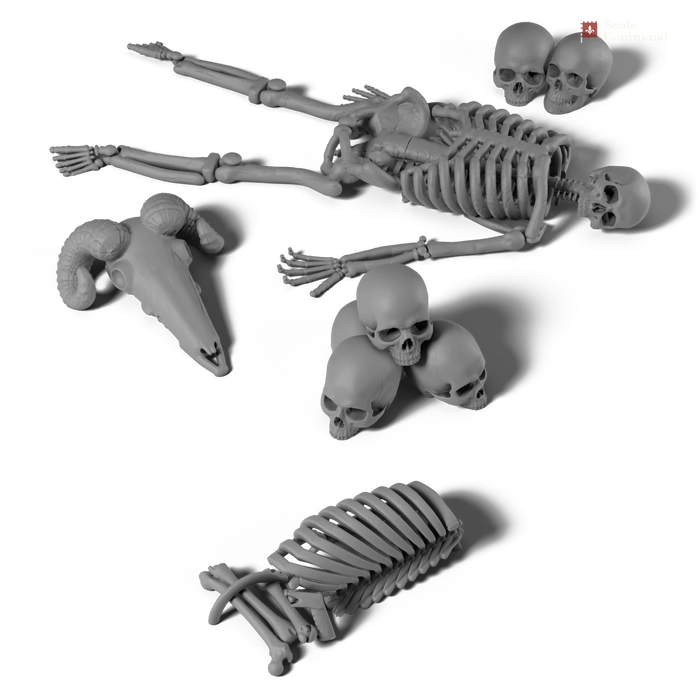
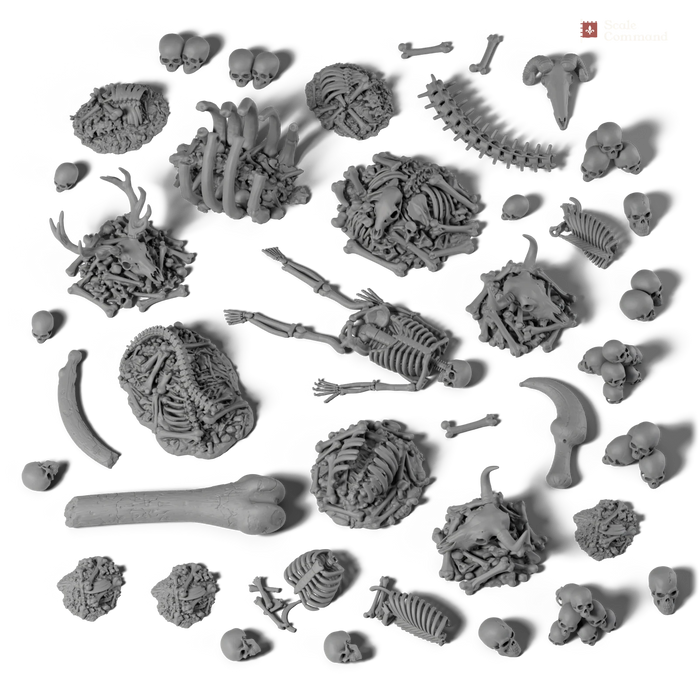
- Extras: Skulls & Bones or Tree Stumps
Texture
- Fine sand or hobby grit, with PVA glue
- Or a texture paint, such as Stirland Mud or Armageddon Dust
- Or a strip of clay rolled with a texture roller
Paints
- Rhinox Hide earth, base
- Agrax Earthshade shade, or Army Painter Strong Tone
- Baneblade Brown earth, drybrush
- Terminatus Stone dry paint, top drybrush
- Mechanicus Standard Grey rocks, base, or Army Painter Uniform Grey
- Nuln Oil shade, or Army Painter Dark Tone
- Dawnstone and Administratum Grey rocks, drybrush; or Army Painter Ash Grey
- Ushabti Bone bone, or Army Painter Skeleton Bone
- Abaddon Black or Steel Legion Drab the rim
Tools
- Flush cutters (sprue cutters) and a hobby knife
- Superglue and PVA glue, and an old brush for the glue
- A big soft drybrush, a medium brush and a fine brush
- Tweezers for small bits
- A cork or painting handle and poster putty, to hold the base
- Matt varnish, and grass tufts or static grass
Step by step
-
Snip the base free and clean it up
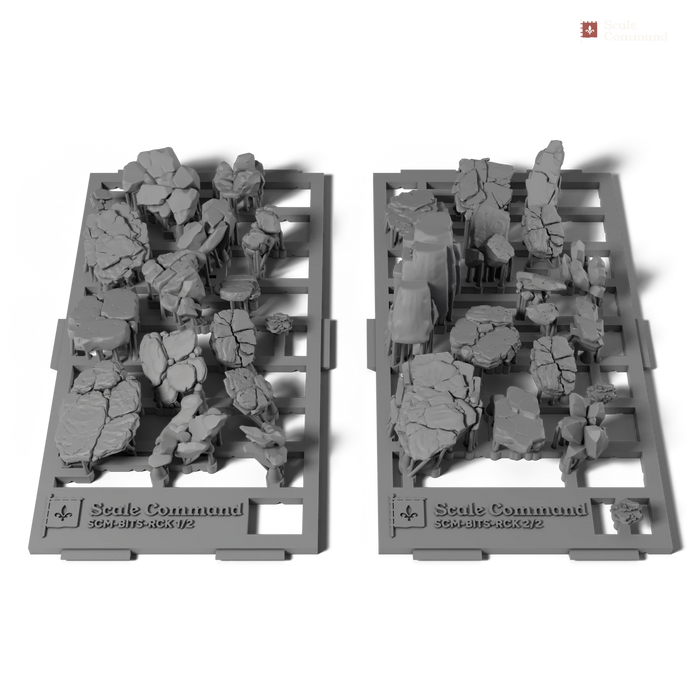
Our resin bases and basing bits ship washed and cured on their print sprue, like a plastic kit (more on sprues in resin vs filament). Cut each one free with flush cutters, cutting through the supports close to the part, then scrape the little contact points smooth with a hobby knife. Wash them in warm soapy water if they've been handled a lot, and let them dry.
-
Plan the base before you glue anything
Stand the model on the base and try the bits around it. One bigger piece and two or three small ones looks more natural than an even scatter. Keep rocks away from the feet, and on units that rank up, keep them away from the edges where the next base touches.

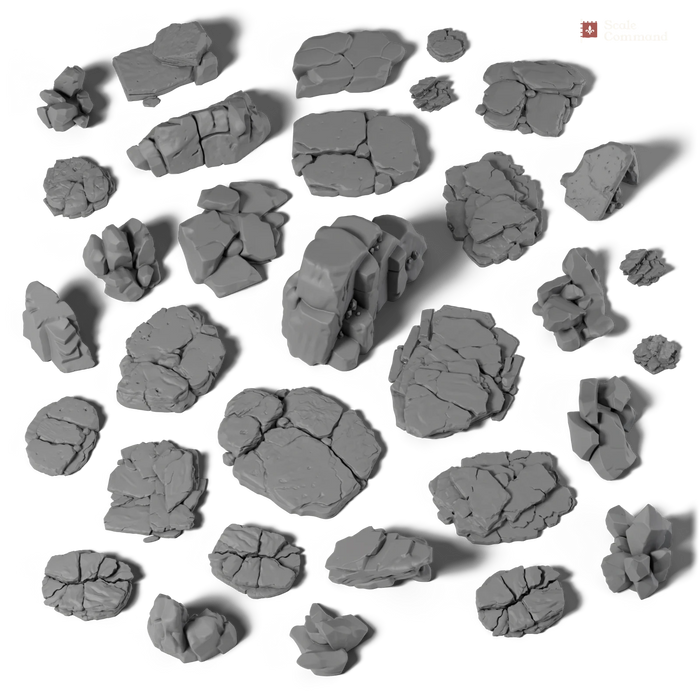
Small Rock Basing Bits, 4 to 11 mm across: ideal for scattering round a figure's feet (our render). -
Glue the model and the big pieces
Superglue the model and any large bits in place first, so the texture can flow around them and hide the joins. A tiny drop is plenty: too much leaves a shiny puddle that shows through paint.
-
Add the texture
Brush PVA glue over the bare base, avoiding the feet and the bits, and dip it in fine sand. Tap off the loose grains and let it dry, then brush on a 50:50 mix of PVA and water to lock the sand down. For a quicker result, brush on a texture paint like Stirland Mud instead. For paving or a wooden floor, glue on a disc of clay rolled with a texture roller.
-
Prime it
Once everything is dry, prime the base and model together with any miniature primer. Texturing first and painting the base last is the easiest order: the messy jobs happen before the model is painted, and the base colours go on at the end. If you're basing a model you've already painted, skip the spray and brush the base colours on carefully instead.
-
Basecoat the earth and the rocks
Paint the earth Rhinox Hide and the rocks Mechanicus Standard Grey. Two thin coats beat one thick one. It doesn't need to be neat where earth meets rock: the drybrushing evens it out.
-
Wash
Flood the earth with Agrax Earthshade and the rocks with Nuln Oil. The wash runs into every crack in the stone and every gap in the sand, which is what makes the drybrushing pop. Let it dry completely.
-
Drybrush
Dip a big soft brush in Baneblade Brown, wipe almost all of it off on a paper towel, and flick the brush lightly across the earth so only the tops of the grains catch the colour. Go over it again, more lightly still, with Terminatus Stone. Drybrush the rocks the same way with Dawnstone, then a light touch of Administratum Grey on the sharpest edges.
-
Pick out the details
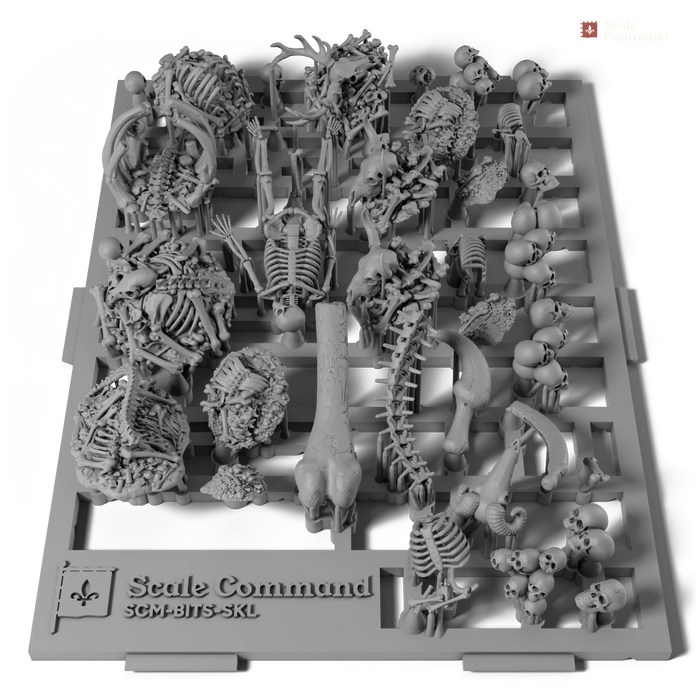
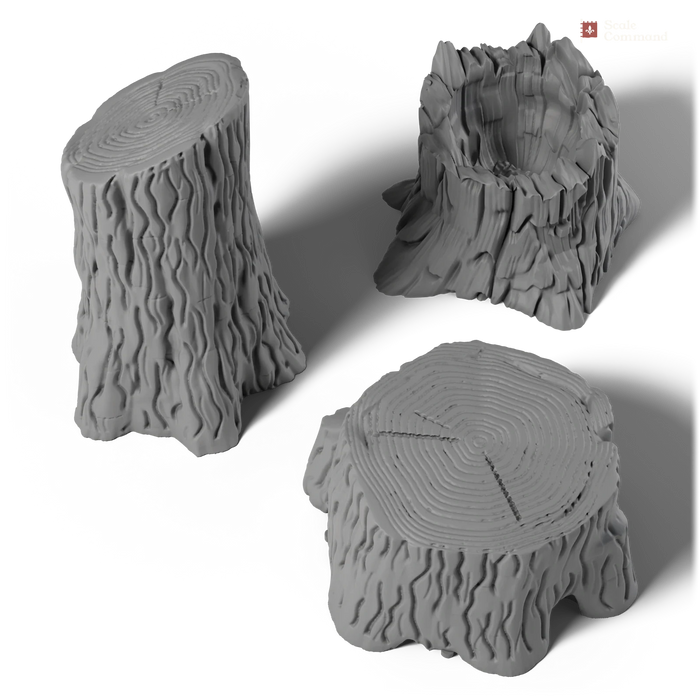
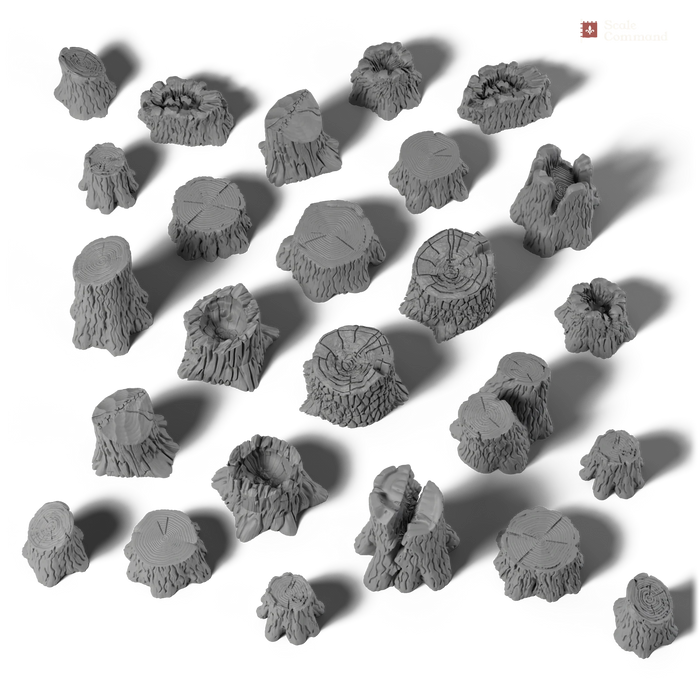
Paint skulls and bones Ushabti Bone, wash them with Agrax Earthshade, and touch the top of each one with Ushabti Bone again. Tree stumps get the earth recipe, then a little more of the lighter drybrush on the cut tops.


Skulls & Bones and Tree Stumps, two of our 28mm basing bit packs (our renders). -
Paint the rim
Paint the edge of the base one neat, solid colour. Black, with Abaddon Black, is classic and makes the colours on top look brighter; a brown like Steel Legion Drab blends in on the table. Whichever you pick, use it on the whole army.
-
Varnish
A coat of matt varnish protects the drybrushing from fingers and knocks back any shine from the glue. Do it before the grass, because varnish flattens tufts and static grass.
-
Add tufts and grass
Dab a small spot of PVA or superglue where you want a tuft and press it on with tweezers. Two or three tufts on a 32mm base is plenty; put them against rocks and at the base of the bits, where grass would really grow.
Recipe card: earth and rock base
In order, left to right
- Earth
- Base Rhinox Hide
- Wash Agrax Earthshade
- Drybrush Baneblade Brown
- Drybrush Terminatus Stone
- Rocks
- Base Mechanicus Standard Grey
- Wash Nuln Oil
- Drybrush Dawnstone
- Edges Administratum Grey
- Bone
- Base Ushabti Bone
- Wash Agrax Earthshade
- Layer Ushabti Bone
- Rim
- Base Abaddon Black or Steel Legion Drab
How do you base 10mm and 15mm figures?
At 10mm and 15mm a unit is a group of figures packed onto one stand, so there's very little ground showing between them. Keep it simple and let colour do the work:
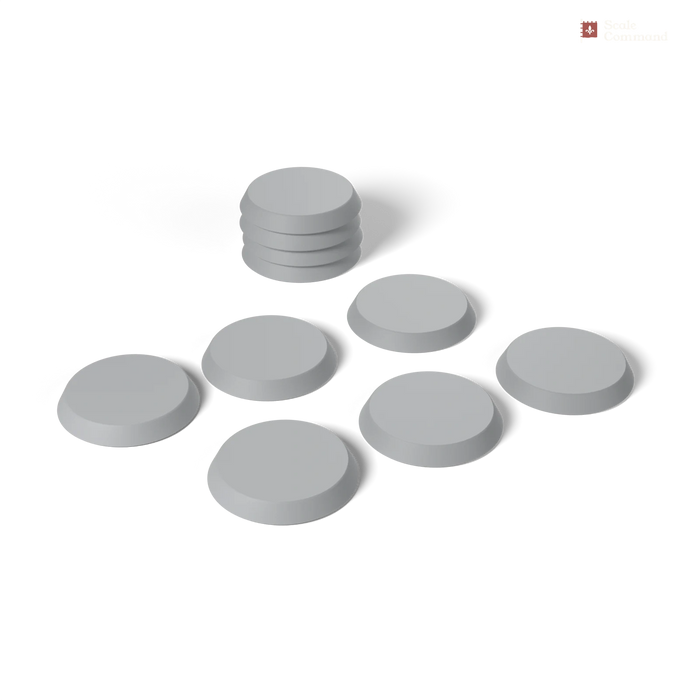
- Glue the figures to our Movement Plates first: they're 40 mm wide, with a flat top that takes Wakes Emporium's 36.5 mm strips and Ten Kingdoms' footplates.
- Brush PVA into the gaps and add the finest sand you can find, or a texture paint.
- Basecoat the whole stand one broad earth colour, wash it, and give it a quick drybrush with a small brush.
- Finish with a scatter of flock or static grass in two or three patches.
Leave out grass tufts and sculpted basing bits at this size: our basing bits are made for 28mm, and at 10mm and 15mm they stand taller than the figures' knees and crowd the rank. A single well-placed rock on a command stand is the most a 15mm unit needs.

Paint the stand's rim the same colour on every unit and the whole army reads as one force from across the table, even before the figures are finished.
Which basing bits suit my army's theme?
Match the base to where your army fights, then pick one or two packs and repeat them across the whole unit. Each theme below has its own page with the packs that suit it:
| Theme | What it looks like | Packs for it |
|---|---|---|
| Desert | Orange sand, cracked earth, cacti | Desert basing bits |
| Wild West | Dusty ground, scrub and rocks | Wild West basing bits |
| Woodland | Stumps, branches, ferns, mushrooms | Woodland basing bits |
| Swamp | Mud, roots, frogs and reeds | Swamp basing bits |
| Fantasy | Crystals, mushrooms and ruins | Fantasy basing bits |
| Dungeon | Flagstones, rubble and bones | Dungeon basing bits |
| Undead | Skulls, bones and broken stone | Undead basing bits |
| Plague | Grim ground, bones and rot | Plague basing bits |
| Grimdark | Skulls, ruins and battle debris | Grimdark basing bits |
| WW2 | Sandbags, tank traps and rubble | WW2 basing bits |
| Sci-fi | Wreckage, crystals and hard ground | Sci-fi basing bits |
| Ruins | Broken columns, tiles and rubble | Ruins basing bits |
| Post-apocalyptic | Rubble, debris and cracked ground | Post-apocalyptic basing bits |
| Lava | Basalt columns and glowing cracks | Lava basing bits |
Building a historical army? Our medieval miniatures in 10mm, 15mm and 28mm look right on plain earth, grass and rock, so the Rock Clump and Small Rock packs from the kit list above are all most units need.
How do you stop sand falling off, and other quick fixes
- Sand falling off: brush on watered-down PVA after the first coat dries, or prime it, which glues the loose grains down.
- White marks round superglue: that's frosting from the glue fumes. A wash or a coat of matt varnish hides it.
- Drybrushing looks chalky: too much paint on the brush. Wipe more off, and build it up in two lighter passes.
- Bits look stuck on: push a little texture up against their sides so they sit in the ground, not on it.
-
 New
-
New
-
New






Questions and answers
- What do you need to base miniatures?
- To base miniatures you need bases, fine sand or a texture paint, PVA glue and superglue, a basecoat, a wash and two drybrush colours, a big soft drybrush, and a colour for the rim. Rocks, basing bits, grass tufts and matt varnish finish the job, and a painting handle makes it easier.
- Should you base miniatures before or after painting?
- Texturing a base before painting and painting it last is the easiest order. Glue the model and any bits on, add sand or texture paste, and prime everything together. Paint the model, then paint the base: basecoat, wash, drybrush and rim. Tufts and grass go on after the varnish.
- How do you stop sand falling off bases?
- Sand stays on a base when it's glued with PVA, left to dry, and then sealed with a 50:50 mix of PVA and water brushed over the top. Spray primer also locks loose grains down. Tap off the excess sand before the glue dries, and don't flood the sand with paint.
- What colour should base rims be?
- Base rims are usually painted black or a dark earthy brown, in one neat solid colour across the whole army. Black makes the colours above it look brighter, and brown blends in with the table. The same rim colour on every unit makes an army look finished and consistent.
- What size base for 28mm miniatures?
- Most 28mm foot figures go on 25mm round bases, the classic size for historical skirmish games, or 32mm round bases, today's common size for fantasy and sci-fi infantry. Bigger figures, heroes and cavalry use 40mm rounds or ovals. Check the game's rules, because some ask for exact base sizes.
Shop this article
-
-
-
New
-
New
-
New
-
New