

How to paint lava bases: cracks, glow and basalt
To paint a lava base, paint the lava brightest where it's hottest: pale yellow in the cracks and channels, orange around them, and deep red at the edges and against the rocks. Then keep the rock dark, charcoal with grey edge highlights, and glaze orange onto the rock faces nearest the lava so they seem to glow. Here's our own lava field base, step by step, with paints from two makers.

Updated 10 min read28mm

On this page
To paint a lava base, paint the lava brightest where it's hottest: pale yellow in the cracks and channels, orange around them, and deep red at the edges and against the rocks. Then keep the rock dark, charcoal with grey edge highlights, and glaze orange onto the rock faces nearest the lava so they seem to glow. Below is our own lava field display base from every side, the order to paint it in, a paint list with swaps from two makers, and how to roll lava cracks with a texture roller.
- Time
- Two sittings, plus drying time
- Level
- Beginner to intermediate
- Tools
- Brushes are enough; an airbrush makes the blends quicker
- Bits
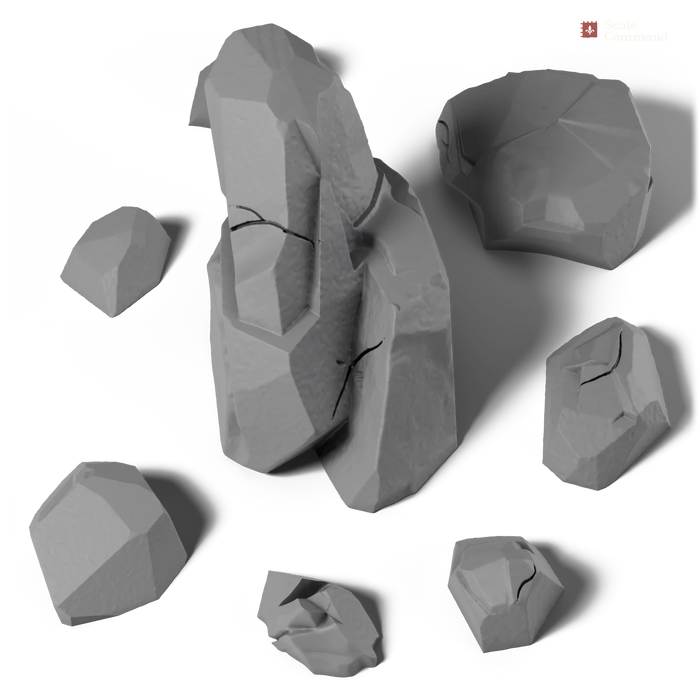
- Basalt Columns and Rock Clump

This base was painted in our Perth studio, but we didn't write down the exact pots used on it, so this isn't a "what we used" list. The method follows what you can see in the photos, and the paints are one way to get the look with colours that are easy to find, from The Army Painter and Vallejo. The colour dots are a guide only: paint looks different on every screen.
What do you need to make a lava base?
Bases and bits
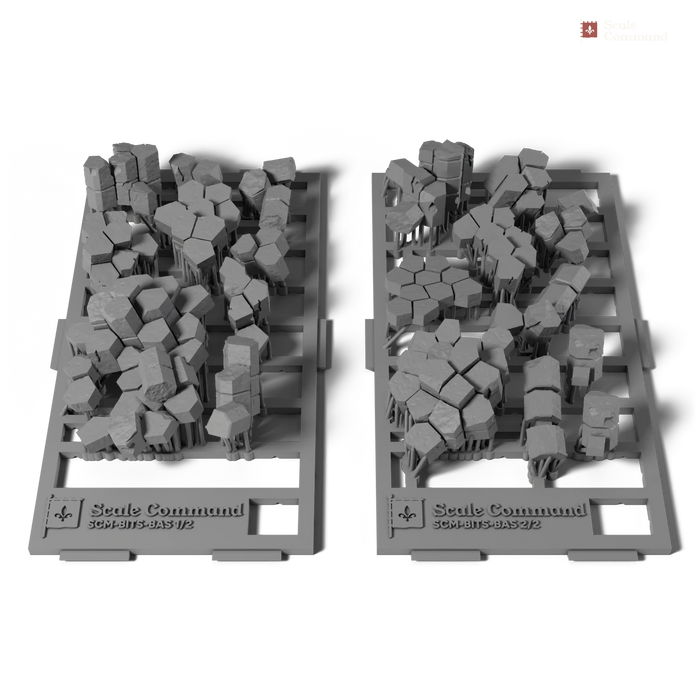
- Basalt Column Basing Bits, pack of 19
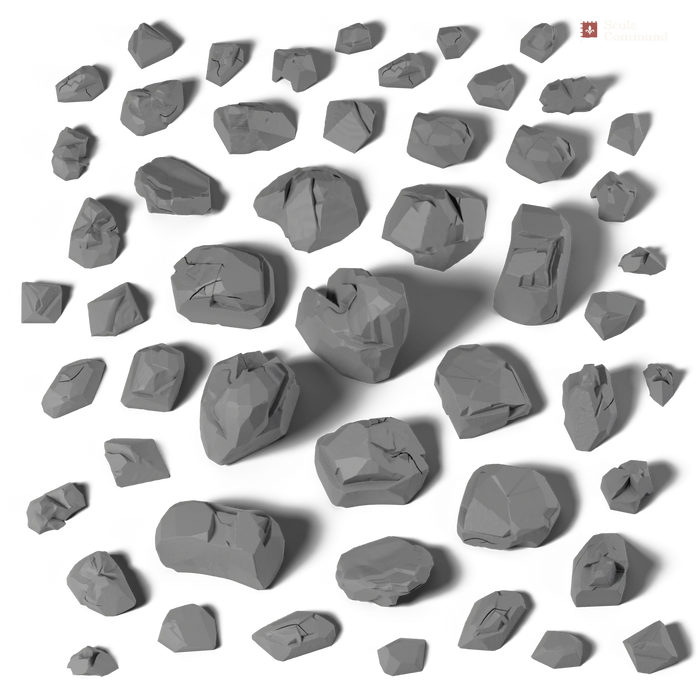
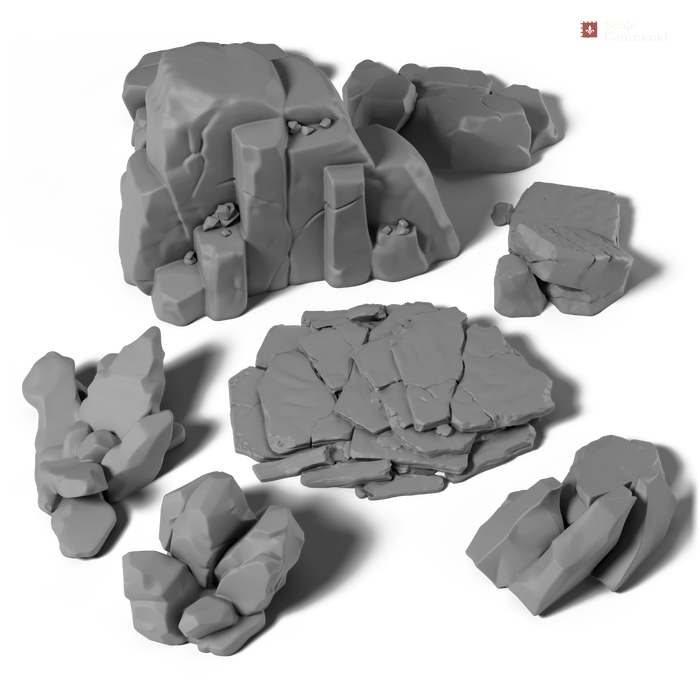
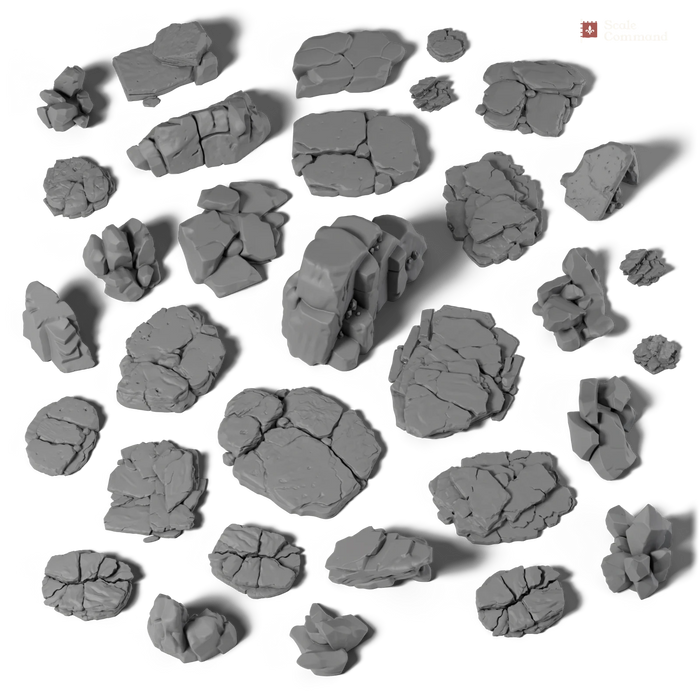
- Rock Clump or Small Rock basing bits
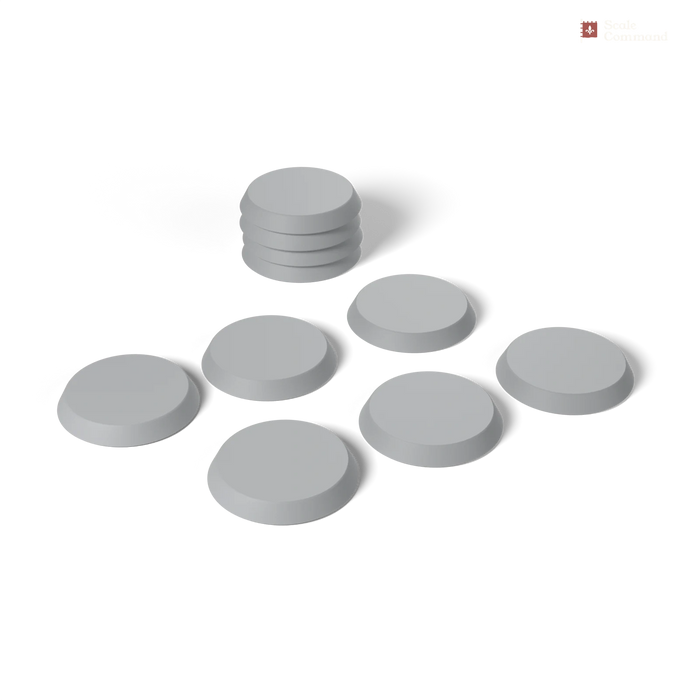
- A round base: our Round Bases come in 25, 32 and 40mm
- Every pack that suits lava: Lava & Volcanic Basing Bits
Glue and texture
- Superglue (gel is easiest) for resin to resin
- A texture paste or fine sand and PVA, for the ground at the foot of the rocks
- Optional: air-dry clay or putty and a Cracked Earth roller, for crusted lava
Paints (one way to do it)
- Matt Black primer, rock and rim
- Matt White under the lava
- Daemonic Yellow hottest lava
- Lava Orange lava, and the glow glaze
- Pure Red and Dragon Red cooling edges
- Uniform Grey and Ash Grey rock drybrush and edges
- Dark Tone shade between columns
The Army Painter Warpaints names; Vallejo swaps are in the paint table.
Brushes and tools
- A medium round brush for the lava blends
- A fine pointed brush for the veins
- A large soft drybrush for the rock
- Optional: an airbrush for the lava and the glow
- Paper towel and a palette
What makes painted lava look hot?
Real lava glows according to its temperature: the hottest rock is yellow to nearly white, it cools through orange to dull red, and the coolest crust goes black. Painted lava looks right when it follows the same order. Three rules do most of the work:
- Brightest in the middle of the flow. Yellow and pale yellow go in the cracks, channels and the centre of a pool, where the lava is hottest; orange surrounds them; red goes at the edges, where it cools.
- Dark against bright. Lava only looks bright next to something dark. Keep the rock charcoal, and the lava will seem to shine by comparison.
- Light spills onto what's near it. The faces of rock that look down into the lava catch an orange tint, strongest right at the lava and fading upwards. Painters call this object source lighting.

How to paint a lava base, step by step
-
Build the base and leave room for the lava
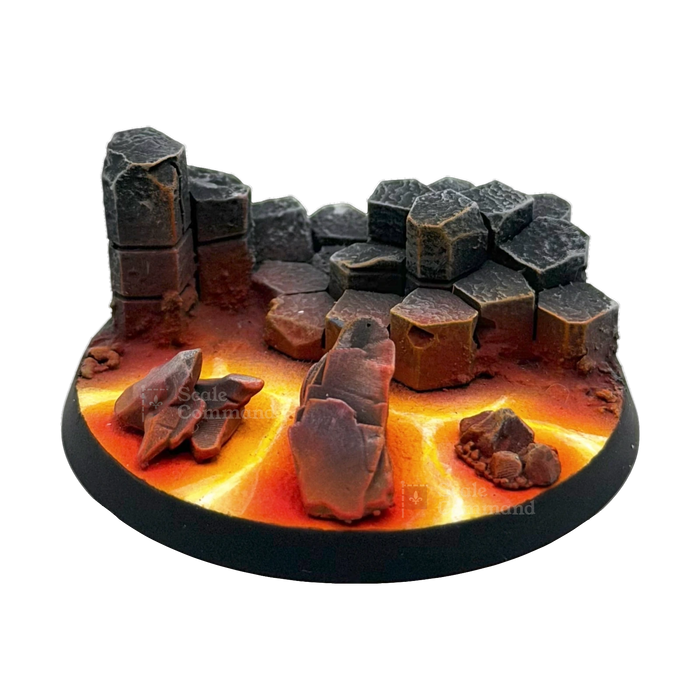
Plan where the lava goes before you glue anything. On our base the basalt columns rise in a stepped group along the back and one side, and a few rocks stand on their own in an open pool across the front, so most of the front half is flat lava. Superglue the columns first, then the rocks, and work a little texture paste round the foot of the columns so they look rooted. Keep the lava area itself smooth: a flat surface takes blends best.
For more on dry-fitting and stacking the columns, see how to base a dwarf on basalt columns.

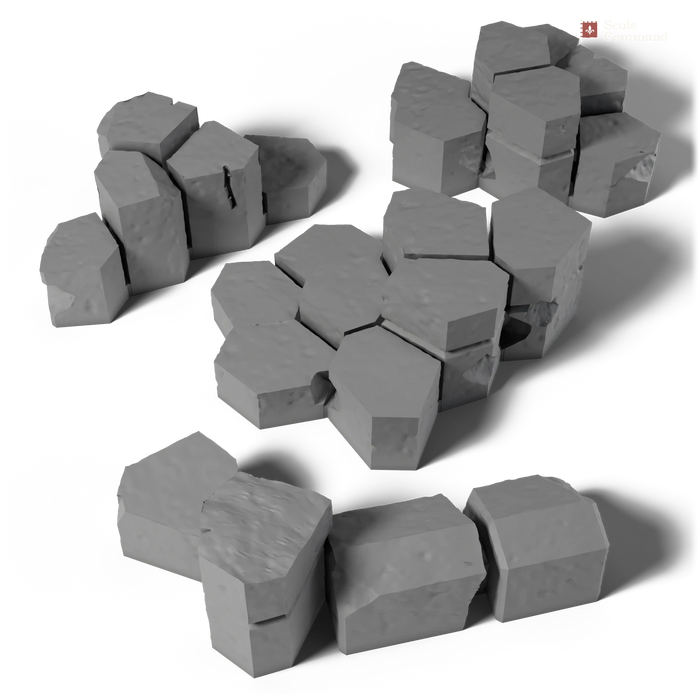
The Basalt Column pack, 19 pieces in 18 designs (our render). -
Prime the whole base black
Prime everything black, rocks and lava area together. Black fills the gaps between columns with shadow before any colour goes on, which suits basalt. Two light coats of spray or airbrush primer beat one heavy one.

Basalt columns after black primer (a frame from our basalt dwarf build). -
Paint the lava area white
Yellow is a weak, see-through colour, and over black it looks green and dull. Paint the whole lava area with two thin coats of Matt White, carefully up to the foot of every rock. With an airbrush, spray the white straight down onto the lava so the rock sides stay black.
-
Cover the lava with yellow
Paint Daemonic Yellow over all the white. This is the colour of the hottest lava, and every later colour goes on round it, so be generous: two or three thin coats until it's smooth and strong.
-
Add orange, leaving yellow channels
Decide where the hot channels run. On our base they branch across the pool like cracks, running between the rocks and out towards the rim. Paint Lava Orange over the rest of the lava, leaving a band of yellow along each channel. Feather the edge of the orange so it fades into the yellow rather than stopping at a line: work while the paint is wet, or build it up in thin glazes.
-
Darken the edges to red
Now cool the edges. Paint Pure Red round the outer edge of the pool, along the rim and in a ring round the foot of each rock, again feathered into the orange. Push the very darkest spots, right where lava meets rock, a step further with Dragon Red. On our base you can see this most clearly round the rocks in the pool and along the front rim.
-
Paint the hottest veins
With a fine brush, run thin lines of yellow mixed with a little white down the middle of each yellow channel, then a finer line of near-white in the brightest stretches. Wobbly, branching lines look more natural than straight ones; let them split and taper out. These veins are what sell the effect on our base, so take your time over them.
-
Paint the rock dark
Touch up any yellow or orange that strayed onto the rocks with Matt Black. Then drybrush the columns with Uniform Grey, lightly, so they stay charcoal. Wash a little Dark Tone into the joints if the drybrush went too far. Finish with a careful edge highlight of Ash Grey along the top rims of the columns, the edges furthest from the lava. The drybrushing method is covered step by step in how to drybrush rocks.


From the back (left) and the side (right): grey edges on the column tops, darker faces lower down, and the lava glow creeping up from below. -
Glaze the glow onto the rock
Thin Lava Orange with water, or a glaze medium, until it's barely tinted, and paint it onto the rock faces that look down at the lava, strongest at the bottom and fading out partway up. Build it in two or three passes rather than one heavy coat. With an airbrush, spray it from low down, from the lava's side only, so the tops and the back faces stay grey. On our base the lower faces of the columns turn orange-brown where they meet the pool, and the rocks standing in the lava are a warm red-brown all over, as if they're heating through.
-
Paint the rim and varnish
Paint the rim Matt Black, two thin coats, holding the brush flat against the side of the base. A black rim frames the glow, as on our base. Seal everything with matt varnish. If you want the lava to look molten and wet, you can add a gloss varnish over the lava only, but test it on a spare piece first: shine can hide the blends from some angles.

The finished base, cut out of its photo: the same picture as on our home page.
Recipe card: lava base
In order, left to right. One way to get this look, in The Army Painter Warpaints names.
- Start
- Prime Matt Black
- Lava
- Base Matt White
- Hottest Daemonic Yellow
- Flow Lava Orange
- Edges Pure Red, then Dragon Red
- Veins Daemonic Yellow + Matt White
- Rock
- Drybrush Uniform Grey
- Shade Dark Tone
- Edges Ash Grey
- Glow Lava Orange, thinned
- Finish
- Rim Matt Black
- Seal Matt varnish
Paints for a lava base, with Vallejo swaps
Any bright yellow, orange and red will work, as long as they step from light to dark. The table gives one way to do it in two widely sold ranges; the swaps are close, not exact, so try them on a spare base first.
| Job | The Army Painter (Warpaints) | Vallejo Game Color |
|---|---|---|
| Primer | Matt Black Colour Primer | Black Surface Primer |
| Under the lava | Matt White | Dead White |
| Hottest lava | Daemonic Yellow | Sun Yellow |
| Lava flow, and the glow glaze | Lava Orange | Hot Orange |
| Cooling edges | Pure Red | Bloody Red |
| Darkest edges | Dragon Red | Gory Red |
| Rock drybrush | Uniform Grey | Cold Grey |
| Shade between columns | Dark Tone | Black Wash |
| Column edges | Ash Grey | Stonewall Grey |
| Rim | Matt Black | Black |
For the basalt-grey look in other paint ranges, see the basalt paint table.
How do you make lava cracks with a texture roller?
For a crusted lava flow, where black plates of cooled rock float on glowing cracks, roll the crust instead of sculpting it. Our Cracked Earth roller presses a pattern of irregular plates into clay or putty; the 28mm roller makes plates about 3–7 mm across, and a 10mm and 15mm version makes smaller ones.
- Roll the crust in air-dry clay or putty, cut it to the base and glue it down (the putty choices are compared in which putty to use with a texture roller).
- Once cured, prime black, then paint white, yellow and orange right across it, as for the pool above. Let the colour run down into the cracks.
- Paint the tops of the plates black with the side of a brush held flat, so the colour stays only in the cracks. Leave a thin orange line along the edge of each plate, as if it's still hot.
- Drybrush the plates very lightly with a dark grey, and add the near-white veins only in the widest cracks.

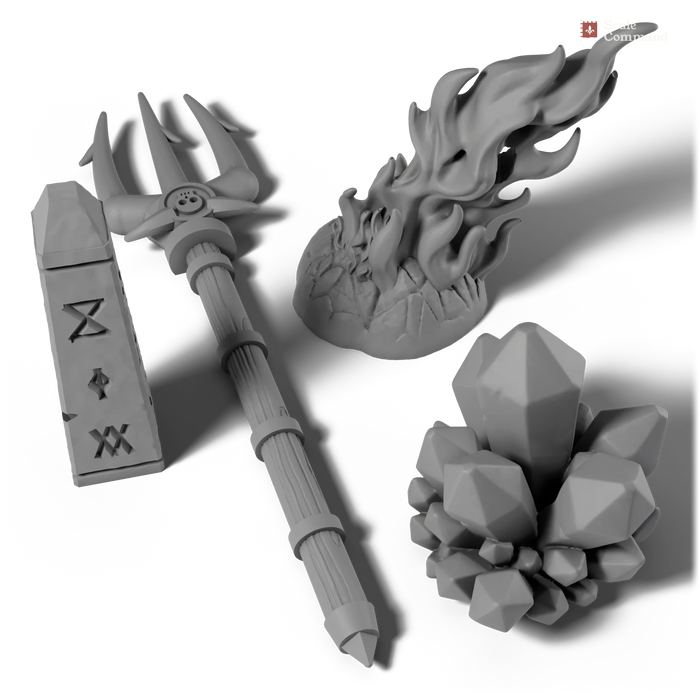
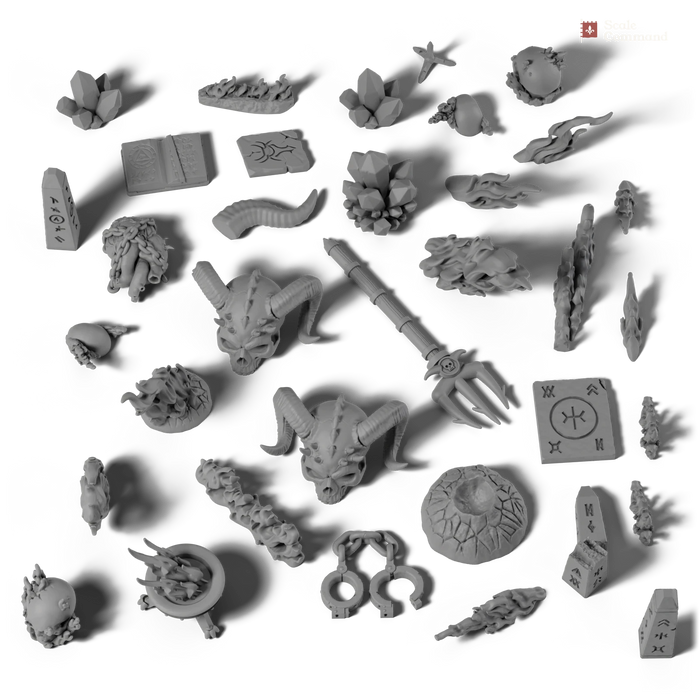
For flames and fire breaking out of the ground, our Hellscape pack adds sculpted fire, braziers and brimstone. Paint flames the same way as lava: yellow at the root, orange through the middle, red at the tips.
Do you need an airbrush to paint lava?
No. Everything above can be done with a brush: work the yellow, orange and red while they're wet, or build each blend in thin glazes. An airbrush makes two jobs faster, though: smooth blends across a big pool, and the soft glow on the rock, sprayed from low down on the lava's side. If you have one, use it for those two steps and the brush for the veins and the rock.
How do you photograph a glowing lava base?
Bright lava fools a phone camera into darkening everything else, so the rock turns into a black blob. Tap on the stone, not the lava, to set the exposure, and use soft, even light. More on lighting and backdrops in how to photograph 28mm miniatures.
Common problems and quick fixes
- The yellow looks green or patchy: it's over black or grey. Paint white underneath first, then several thin coats of yellow.
- The lava looks flat, like orange paint: there isn't enough range. Push the channels brighter with near-white veins, and the edges darker with red.
- Hard lines between colours: blend while the paint is wet, or glaze over the join with the lighter colour thinned right down.
- The glow looks like orange paint on the rock: it's too strong or too high. Keep it thin, strongest at the bottom, and only on the faces that look at the lava.
- The rock looks grey and chalky: the drybrush went too far. Wash it back with a black or dark shade and edge-highlight only the top rims.
Build your own lava field. Our Basalt Column and Rock Clump basing bits come in grey resin, ready to clip, glue and paint. See every pack that suits volcanic ground on Lava & Volcanic Basing Bits.
Shop lava basing bits-
 New
-
New
-
New







Questions and answers
- How do you paint lava on a miniature base?
- Prime the base black, then paint the lava area white so the yellow stays bright. Cover it with yellow, paint orange over most of it while leaving yellow channels, and darken the edges and the ground round each rock to red. Finish with thin pale veins down the channels, then paint the rock dark.
- What colours do you need for lava bases?
- A lava base needs white, a bright yellow, an orange and two reds, one bright and one deep, plus black and two greys for the rock. The Army Painter Daemonic Yellow, Lava Orange, Pure Red and Dragon Red work, as do Vallejo Game Color Sun Yellow, Hot Orange, Bloody Red and Gory Red.
- How do you make rocks look like they glow from lava?
- Glaze a thinned orange onto the rock faces that look down at the lava, strongest at the bottom and fading out partway up, in two or three light passes. Leave the tops and back faces grey. An airbrush sprayed from low down on the lava side gives the softest glow, but a brush works too.
- How do you make lava cracks on a base?
- Roll air-dry clay or putty with a cracked earth texture roller, glue it down and let it cure. Prime black, paint white, yellow and orange across the whole surface, then paint the tops of the plates black with the side of a brush so the bright colour stays only in the cracks.
- Why does yellow paint look green over black primer?
- Yellow paint is thin and see-through, so dark primer shows through and turns it a dull greenish colour. Paint the area white or a pale cream first, then add yellow in several thin coats. A white base under the lava is what makes the hottest parts look bright enough to glow.
- Which basing bits suit a lava base?
- Basalt columns suit lava best, because real basalt columns form when thick lava cools. Our lava field base uses Basalt Column and Rock Clump basing bits, and Small Rocks fill the gaps. For fire breaking out of the ground, our Hellscape pack adds sculpted flames, braziers and brimstone.
Shop this article
-
New
-
New
-
New
-
New
-
New
-
New