

How to base a dwarf on basalt columns: a 28mm basing guide, step by step
To base a dwarf on basalt columns, dry-fit the model on loose columns, glue them into a stepped stack, fill the gaps with texture paste, prime black and seal with matt varnish. Then drybrush grey, flow an ochre and a brown wash into the ground, drybrush again, glaze the columns blue-grey, add tufts and paint the rim. Here's every step, with frames from our own footage and the paints that give this look.

Updated 20 min read28mm

On this page
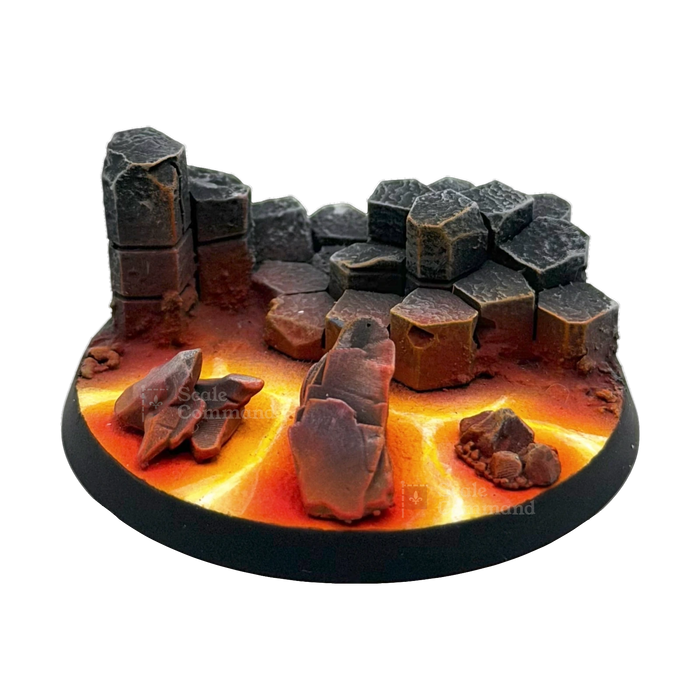
Dwarves belong on stone. This is the full step-by-step for the base under our painted 28mm dwarf: a stepped outcrop of many-sided basalt columns, a pickaxe left leaning in the rocks, an ochre-and-brown ground and tall straw-coloured tufts. Most photos below are frames from our own footage of the build, from the loose columns in the tub to the dwarf standing on the finished base; the few steps we didn't film are marked, with the method we'd use. For each step you get the technique, the paints that give this look and the cheaper swaps.
- Time
- About two sittings, plus drying overnight
- Level
- Beginner to intermediate
- Base
- Round, about 40mm (28mm scale)
What do you need to make a basalt base?
The pots in the paint list give the colours you see in the footage; the labels of most of them aren't readable on camera, so see Paints for this look for the full list with The Army Painter and Vallejo swaps. Paint names are Warhammer Colour (the range sold as Citadel until March 2026, same pot names). The colour dots are a guide only: paint looks different on every screen.
Bases and bits
- Basalt Column Basing Bits, pack of 19
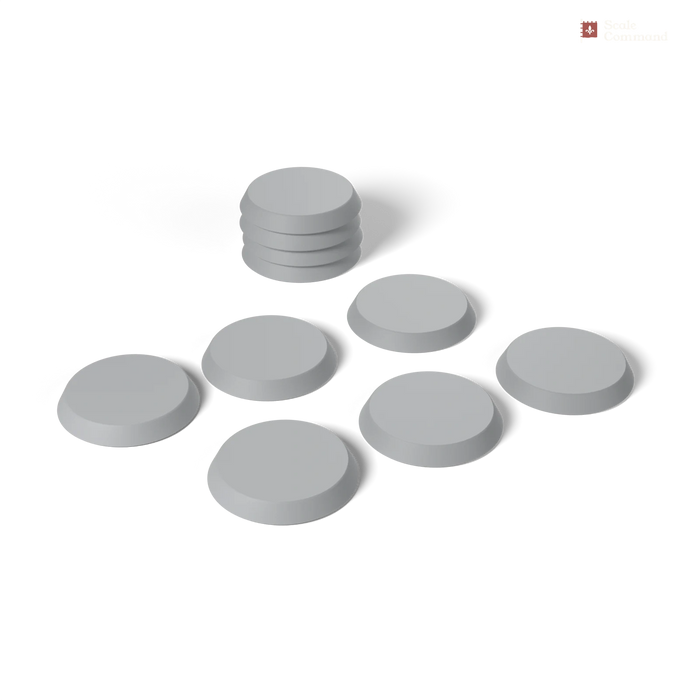
- A round base: our Round Bases come in 25, 32 and 40mm
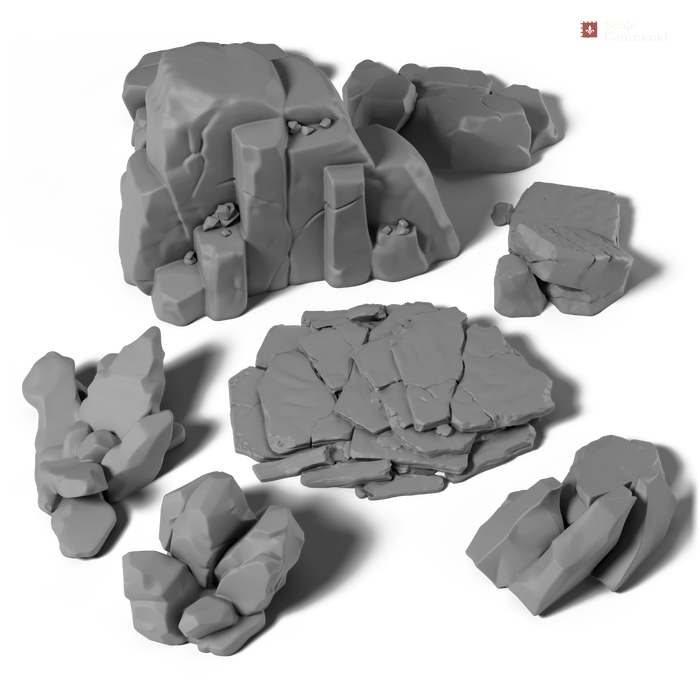
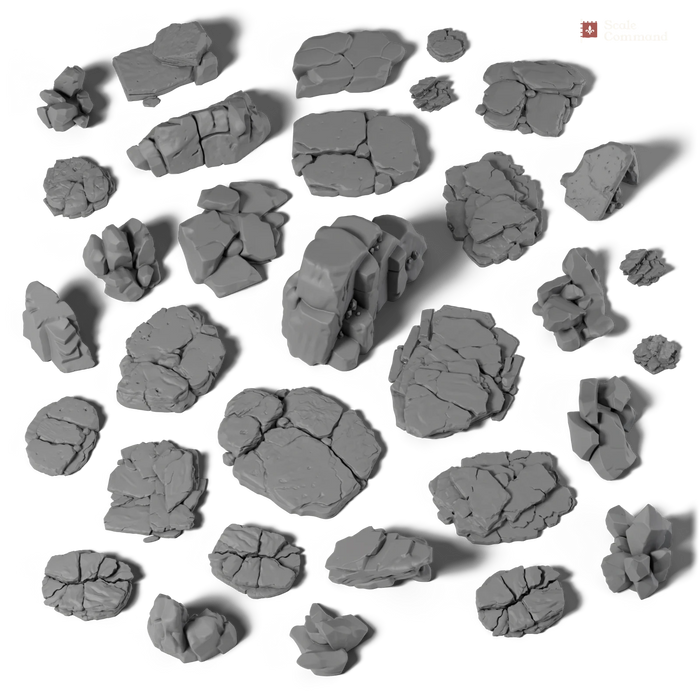
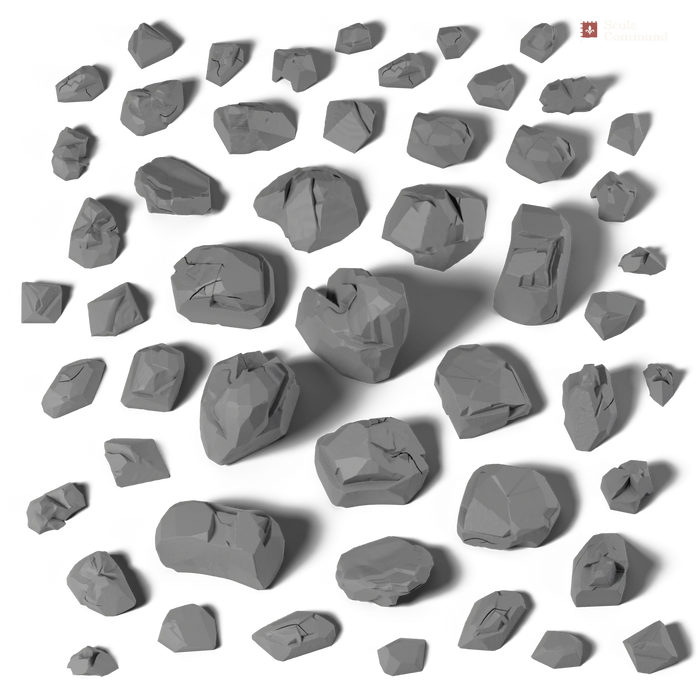
- Loose rock: Small Rock or Rock Clump basing bits
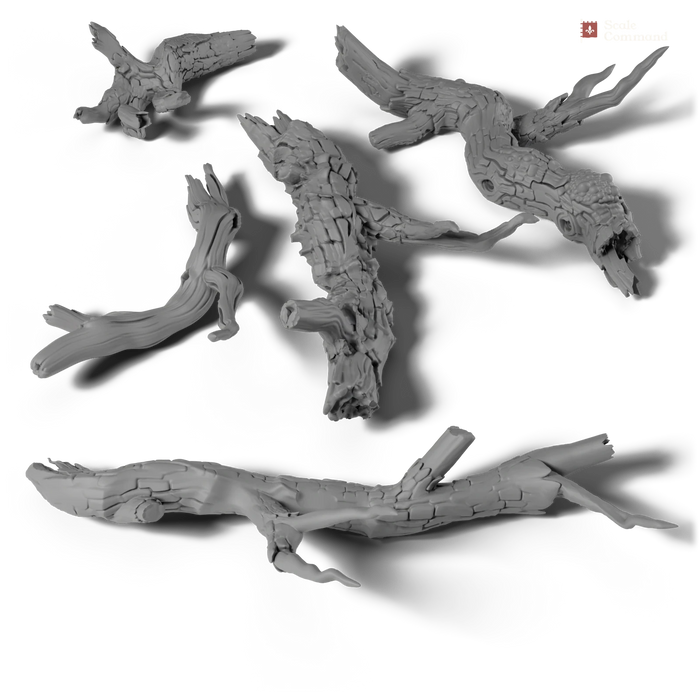
- A small extra with a story, like the pickaxe here, and a twig: our Gnarled Branch bits
- Browse every pack in Basing Bits
Glue and texture
- Superglue (gel is easiest) for resin to resin
- A texture paste, or a texture paint such as Astrogranite or Stirland Mud
- Poster putty, to hold the model while you dry-fit
- Grass tufts: tall straw ones and small yellow-green flower tufts
Paints for this look
- Chaos Black spray primer
- AK Interactive Ultra Matte Varnish seen in our footage
- Dawnstone first drybrush
- Seraphim Sepia ochre shade
- Administratum Grey second drybrush
- Agrax Earthshade brown shade
- Russ Grey and Fenrisian Grey blue-grey columns and edges
- Mournfang Brown and Leadbelcher the pickaxe
- Abaddon Black the rim
Tools and brushes
- Flush cutters and a hobby knife
- A painting handle that grips the base: ours is the Citadel Colour painting handle
- A large, soft, round drybrush (makeup-brush style)
- A medium round brush for washes, and a fine pointed brush
- An airbrush or a rattle can for primer and varnish
- Tweezers for tufts, and paper towel for wiping brushes
Why basalt columns suit a dwarf
Basalt columns are real rock formations. When a thick lava flow cools, it shrinks and cracks into long columns with anywhere from three to eight sides, six being the most common; geologists call it columnar jointing, and the best-known example is the Giant's Causeway in Northern Ireland, with over 40,000 of them. Our columns have crisp five- to seven-sided tops, like the real thing, and on a base they read instantly as stone, even at 28mm, and their flat steps give a figure somewhere natural to plant a boot. For a dwarf, a miner and a dweller under mountains, it's a perfect fit: the base says "underground" before anyone looks at the model.
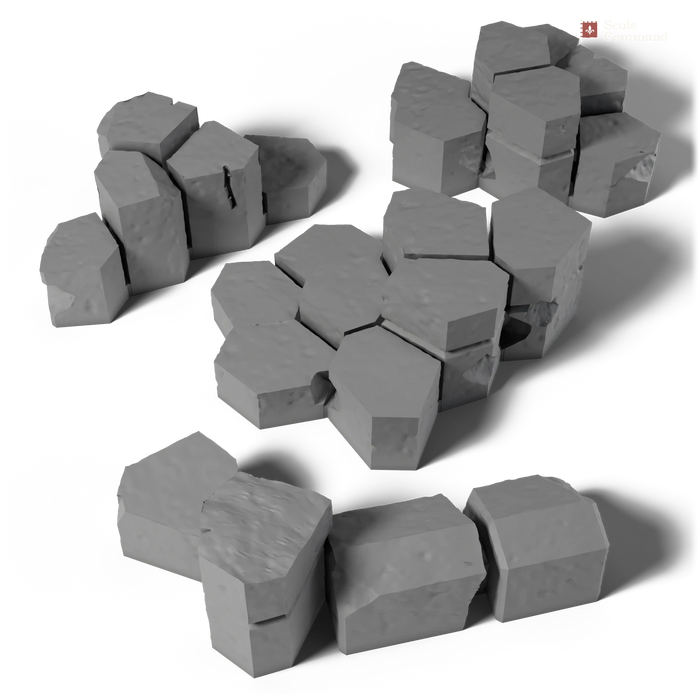
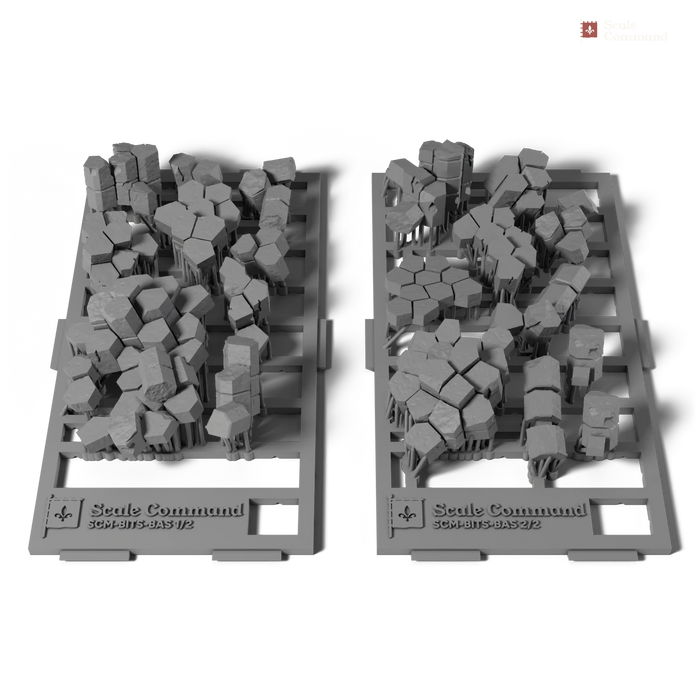
Our Basalt Column Basing Bits are 19 pieces in 18 designs, with columns 6 to 7 mm across and up to about 17 mm tall: column pairs and trios, a honeycomb, a leaning stack, a causeway, a staircase, a ridge, snapped stubs, fallen and toppled columns, a tall pair, a stepped ledge, a spire for 40mm bases and a wide outcrop for 60mm bases.
Step by step: building and painting the base
-
Pick your columns
Tip the pack out and sort it by height before you plan anything. You want a few tall pieces for the back of the base, a couple of mid-height steps for the model to stand on, and some low or fallen pieces to fill the front. Pieces like the causeway and stepped ledge have flat tops made for standing a figure on.

Grey resin basalt columns, straight out of the tub. -
Clean up the columns (not filmed)
We didn't film this step, so here's the method. Our basing bits come washed and cured (more on resin printing in resin vs filament). If any of your pieces arrive with supports or little print nubs, clip them free with flush cutters, right where they meet the part, never by twisting them off. Then:
- Scrape the little contact points smooth with the back of a hobby knife blade.
- Rub the underside of each piece in small circles on fine sandpaper laid flat on the desk, so it sits flush on the base with no rocking.
- Wash the pieces in warm soapy water if they've been handled a lot, and let them dry. Skin oil stops glue and primer gripping.

The whole Basalt Column pack, 19 pieces (our render). -
Dry-fit the model on loose columns
Before any glue comes out, stand the model on the loose columns. In our footage the dwarf goes onto the bare base in the painting handle, and the columns are shuffled round his feet until he stands right. This is where you decide the stacking heights:
- Give each foot a flat top. A boot that balances on an edge looks wrong and is weak once glued. Find a column top for every foot.
- Raise one foot. Putting one foot a step higher than the other gives the model a sense of movement, as if he's climbing.
- Tall at the back, low at the front. Keep the tallest columns behind or beside the model, so they frame him without hiding his face or his weapon.
- Stay inside the rim. Nothing should hang over the edge of the base, or it will catch on other models and break.
- Look at eye level. Crouch and look at it from the front, the way people will see it on the table, then from above.

Dry-fitting: the dwarf stood on loose columns to plan the height and the footing. -
Glue down the first columns
Lift the model off and glue the bottom layer of columns to the base, one piece at a time. Our clip shows the glue going on from a fine-nozzle bottle, straight onto the base where the columns will stand. For resin on resin, superglue is the strongest choice: a gel holds the piece in place for a few seconds while you position it, and a thin glue wicks into tight joints. A pin-head drop per piece is plenty. Too much leaves a shiny puddle that shows through paint and turns white as it cures.

Small dots of glue from a fine nozzle, placed where each column will stand. -
Stack the columns into steps
Build outwards and upwards from the first pieces. Work in rough rings: a low row of column tops round the front, a middle step where the model's feet go, then the tall pieces at the back. Small height changes of 2 to 4 mm between neighbouring tops read as natural footing at 28mm; save the big jumps for one or two tall columns at the back, as on our base. Mix the pieces up so the outline isn't a neat pyramid, and lean one or two slightly, as if the ground has shifted. Leave the gaps between columns: the texture paste fills them later.

The finished stack: low column tops at the front, rising to the tall pair at the back. -
Add extras: the pickaxe and the rocks
A small prop turns a base into a scene. Here a printed pickaxe is set leaning into the stack, as if the dwarf has just put it down, and a few small rock chips are glued round the foot of the columns, where broken stone would gather. Glue extras now, before the texture, so the paste can flow round them and bed them into the ground. If you need loose rock, our Small Rock basing bits (4 to 11 mm chips) and Rock Clump basing bits are made for exactly this job.

Extras in place: a pickaxe leaning against the columns and a scatter of rock chips. -
Fill the gaps with texture paste
Spread a texture paste over the bare base and push it into the gaps between and around the columns with an old brush or a sculpting tool. In our footage a pale paste is worked right up against the feet of the columns, so they look like they rise out of the ground rather than sit on top of it. Keep the column tops where the model stands clean, so his feet still sit flat.
Any modelling paste or texture product works. If you'd rather paint the texture on, a texture paint like Astrogranite (fine grey grit) or Stirland Mud (brown, chunkier) does the same job: see how to use a texture paint below.

Pale texture paste worked round the columns and the pickaxe, ready to dry. -
Prime it black
Prime the whole base black. A black undercoat is the right start for basalt: it fills every crack with the darkest shadow before any colour goes on, and the drybrushing does the rest. The priming itself wasn't filmed; in the next clip the base is already black.
With a spray can, shake it for a full minute, hold it about 20 to 30 cm away and spray in short passes from the front, the back and both sides, so the primer reaches the bottom of every gap. Two light coats beat one heavy one, which can fill the fine detail. An airbrush with a brush-on or airbrush primer gets into the gaps even better.

Primed black: columns, pickaxe, rocks and texture all one colour. -
Test-fit the model and touch up round the feet
Stand the model on the primed base again. Our clip shows a fine pointed brush working round the dwarf's feet while he stands in place. This is the moment to fill any gap that shows under a boot, and to make sure the footing still fits after the texture went on. Touch any bare spots with black, then lift the model off for painting.

Test-fitting the dwarf on the primed base, with a fine brush working round his feet. -
Seal it with matt varnish
Next in the footage, a bottle of AK Interactive Ultra Matte Varnish is shown to the camera, and then the black base is misted through an airbrush. A matt coat before the drybrush is worth copying: it gives the drybrush something to grip and evens out the shine (more in why varnish before drybrushing).
Shake the bottle hard, because varnish settles, and follow its directions for your airbrush. Spray in thin, even passes from a little further back than you would for paint, and let it dry fully before you touch it with a brush.


AK Interactive Ultra Matte Varnish (left), then the airbrush over the black base (right). -
First drybrush: grey over everything
Now the rock comes to life. A large, soft, round drybrush goes over the whole base, columns and ground together, and leaves a mid grey on every raised edge while the cracks stay black. To get this look we'd reach for Dawnstone. How to do it:
- Dip just the tips of the bristles in the paint.
- Wipe the brush on paper towel, then wipe it again, until a stroke on the towel leaves only a faint dusty mark.
- Brush quickly back and forth across the edges of the columns, at right angles to them, so the bristles skim the corners. Brushing along an edge drags paint down into the gaps.
- Turn the handle and come in from every side, then once from above for the column tops.
- Build it up in several light passes. You can always add more grey; taking it off means starting again.


The big soft drybrush in action (left) and the result (right): grey on the edges, black left in the cracks. -
Flow an ochre wash into the ground
Next, a warm ochre wash goes onto the ground only, not the columns, with a medium round brush. You can see how wet and glossy it is in the footage: the wash is flowed into the dips in the texture and left to settle. That warm colour is what stops the base looking like plain grey concrete. To get this look we'd reach for Seraphim Sepia.
Load the brush fully, touch it to the ground beside the columns and let the wash run off the bristles into the low spots; don't scrub it about. Keep it off the column tops, so they stay cool and grey against the warm ground. See how to use a shade without pooling below.


The ochre wash going into the ground (left), still wet and glossy (right). -
Second drybrush over the ground
Once the wash is bone dry, the big drybrush goes back over the ground for a second pass. This lifts the tops of the texture again, so the ochre sits in the dips with lighter grit on top. To get this look we'd reach for Administratum Grey, a step lighter than the first grey, wiped off even harder and used with a lighter touch. Catch the top edges of the columns as you pass, and leave their sides alone.

A second, lighter drybrush across the ground. -
Pick a brown wash into the recesses
Now a darker brown wash is picked into the deepest spots with the tip of the round brush: round the feet of the columns, under the pickaxe, in the cracks of the ground. Where the ochre warmed everything, the brown adds depth and makes the base look like real earth gathered between rocks. To get this look we'd reach for Agrax Earthshade.
Use less than you think. Touch the brush to a recess and let the wash wick in, then move on; pat any that spreads too far with a dry brush to lift it.


Brown wash into the recesses (left) and the base once it's on (right). -
Blue-grey columns, crisp edges and the pickaxe
This stage wasn't filmed: between the last wash and the finished base, the columns picked up a cool blue-grey tone and crisp pale edges, and the pickaxe got a warm brown handle and a dark, rusty metal head. Here's how to get the same result:
- Blue-grey columns. Thin Russ Grey with water to the consistency of milk and paint it over the column faces only, as a glaze. The grey drybrushing shows through, now tinted cool blue.
- Edge highlights. With a fine brush held flat, run Fenrisian Grey along the top rim of each column and the sharpest corners. Use the side of the brush, not the tip, so you paint only the edge. Do it on the tops that catch the light, not every edge, or the stone looks outlined.
- The pickaxe. To get this look we'd paint the handle Mournfang Brown and the head Leadbelcher, then wash the head and the joint with Agrax Earthshade so the metal looks dull and a little rusty.

The finished columns in our studio photo: cool grey faces, pale top edges, against the darker ground. -
Add the tufts
The finished base has tall straw-coloured grass tufts and small bright yellow-green flower tufts. They went on off camera, so we can't show the glue, but the method is simple: put a small dab of PVA or superglue where you want the tuft, pick the tuft off its sheet with tweezers by its base, and press it down for a few seconds. A thin gnarled twig lying across the front ground went on at this stage too, a second, natural extra beside the pickaxe; our Gnarled Branch Basing Bits give you a pack of 25 to choose from.
- Put the tall tufts where grass would really grow: in the corners where columns meet the ground, against the rocks, at the base edge. The tiny flower or moss tufts can go on a column top or two, like lichen, as on our base, but keep them off the tops the model stands on.
- Odd numbers of tufts look more natural than neat pairs, and a few well-placed ones beat a lawn.
- Mix sizes and colours. The tall straw tufts give height and the tiny yellow-green ones add a spot of colour that makes the grey look bluer.
- Tufts go on last, after any varnish, because varnish flattens them.

Tall straw tufts and small yellow-green flower tufts, tucked in where the columns meet the ground. -
Paint the base rim
Finish the edge of the base in one neat, solid colour. A black rim, as on this base, frames the stone and makes the colours above it look brighter. Paint it with Abaddon Black: two thin coats, holding the brush flat against the side of the base and turning the base, not the brush. Whatever colour you pick, use it on every base in the army so it reads as one force.

A neat black rim. From this side you can see the pickaxe leaning in the columns. -
Put the dwarf on
Last of all, the dwarf goes onto his base. Check that each foot sits flat on its column top, put a small drop of superglue under each foot and press him down for a slow count of ten. For a heavy model, or one that will be handled a lot in games, pin it: drill a small hole up into one foot and down into the column, and glue a short length of wire into both.

The dwarf on his finished basalt base.
Recipe card: basalt column base
In order, left to right. The varnish is the one from our footage; the paints are the pots that give this look.
- Start
- Prime Chaos Black
- Seal AK Interactive Ultra Matte Varnish
- Ground
- Drybrush Dawnstone
- Wash Seraphim Sepia
- Drybrush Administratum Grey
- Recesses Agrax Earthshade
- Columns
- Drybrush Dawnstone
- Glaze Russ Grey
- Edges Fenrisian Grey
- Pickaxe
- Handle Mournfang Brown
- Head Leadbelcher
- Wash Agrax Earthshade
- Finish
- Rim Abaddon Black
- Tufts Tall straw tufts, small yellow-green flower tufts
Paints for this look, with Army Painter and Vallejo swaps
Our footage shows the AK Interactive Ultra Matte Varnish label clearly, and the Citadel Colour painting handle, but not the labels on the primer, the greys, the washes or the tufts. So the list below isn't "what we used": it's the pots that give each colour you see in the photos. To get this look we'd reach for these, and any of the three columns will do the job.
| Job | Warhammer Colour | The Army Painter | Vallejo |
|---|---|---|---|
| Black primer | Chaos Black (spray) | Matt Black Colour Primer | Black Surface Primer |
| First drybrush (mid grey) | Dawnstone | Uniform Grey | Neutral Grey (Model Color 70.992) |
| Ochre wash | Seraphim Sepia | Soft Tone | Sepia Wash (Game Color) |
| Second drybrush (light grey) | Administratum Grey | Ash Grey | Stonewall Grey (Game Color) |
| Brown wash | Agrax Earthshade | Strong Tone | Umber Wash (Game Color) |
| Blue-grey glaze | Russ Grey | Wolf Grey mixed 1:1 with Uniform Grey | Sombre Grey (Game Color) |
| Edge highlight | Fenrisian Grey | Wolf Grey | Wolf Grey (Game Color) |
| Pickaxe handle | Mournfang Brown | Oak Brown | Beasty Brown (Game Color) |
| Pickaxe head | Leadbelcher, then Agrax Earthshade | Gun Metal | Gunmetal Metal (Game Color) |
| Rim | Abaddon Black | Matt Black | Black (Model Color) |
| Texture (instead of paste) | Astrogranite or Stirland Mud | No direct match: PVA glue and fine sand | Rough Grey Pumice (Ground Texture 26.213) |
The swaps are close matches, not exact copies: every range mixes its greys a little differently, so test on a spare base first. The ochre and brown washes are the most forgiving; the blue-grey glaze is the one to check, because some greys lean green.
How do you drybrush rocks with a dry or layer paint?
Drybrushing is the quickest way to paint stone, and the whole of this base leans on it. A few things make the difference between crisp and chalky:
- The brush. Use a big, soft, round brush with a domed head, like the makeup-style drybrush in our footage. Soft bristles skim the edges; a stiff flat brush scratches paint into the gaps. Keep it just for drybrushing, because the technique wears brushes out.
- The paint. Layer paints such as Dawnstone and Administratum Grey work well straight from the pot. Warhammer Colour also makes Dry paints, a thick, chalky paste in a pot made for this job: you dab the brush in, and there's far less to wipe off.
- Loading. Never thin drybrush paint. Take a little on the tips, then wipe almost all of it off on paper towel; when the brush leaves only a dusty trace on the towel, it's ready.
- Direction. Brush across edges, not along them, in quick light strokes. Come in from several directions, and finish from above, which is where the light falls on the table.
- Build up. Two or three light passes, each a little lighter in colour and in pressure, look far better than one heavy pass.
How do you use a shade (wash) without pooling?
Shades like Seraphim Sepia and Agrax Earthshade are thin, tinted paints made to run into recesses. They pool and leave tide marks when there's too much on the surface, or when they dry on a raised area. To keep them where you want them:
- Shake the pot well and use a medium round brush, not your best detail brush.
- Touch the loaded brush to a recess and let the shade run off it; the dips pull it in on their own. Don't paint it on in strokes like a basecoat.
- Look for shiny puddles on flat or raised areas and soak them up with a clean, damp brush before they dry.
- Let a wash dry completely, at least 20 to 30 minutes, before drybrushing over it, or the brush will lift it.
- Washes dry with a slight satin sheen. That's normal; a matt varnish knocks it back at the end if you want.
How do you use a texture paint instead of texture paste?
A texture paint is paint with grit mixed in, so it fills gaps and adds ground texture in one go. Astrogranite dries a fine grey grit that suits volcanic ground under basalt; Stirland Mud is brown with bigger lumps, for muddy ground. To use either as a gap filler:
- Stir it thoroughly with a cocktail stick: the grit sinks to the bottom of the pot.
- Apply it thickly with an old brush or a spatula, pushing it into the gaps between the columns and up against their sides.
- Leave it to dry overnight. Thick texture paint cracks a little as it dries, which looks like dry earth.
- Prime over it like any other texture, or skip straight to the drybrush if it's already the colour you want.
For the other ways to texture a base, sand and PVA or a rolled pattern, see how to base miniatures and how to use a texture roller. A strip of clay rolled with our Cracked Earth or Fieldstone roller makes a great ground for columns to break through.
Why put matt varnish on before drybrushing?
In our footage the AK Interactive Ultra Matte Varnish goes onto the black base before any drybrushing. A matt coat at that stage helps in three ways:
- Grip. A truly matt surface has a fine tooth that catches the small amount of paint on a drybrush. On a smooth or slightly glossy primer, a dry brush skates over and leaves streaks.
- An even finish. Primer, texture paste, superglue joints and resin can all dry to different sheens. One coat of matt varnish makes the whole base one finish, so the drybrush catches the same everywhere and no shiny glue patch shows through later.
- Protection. Drybrushing is rough on a surface. The varnish protects the black underneath from being rubbed through to grey resin on the sharpest edges.
A final coat of matt varnish at the end, before the tufts, also takes the sheen off the washes and protects the drybrushing from handling during games.
The finished bases
The same columns based a second 28mm dwarf and his two drones, using the same look (their bases weren't filmed step by step). On a group like this, different pieces from the one pack keep the bases matching without any two being the same.

For how we photographed these on white card and cut them out, see how to photograph 28mm miniatures. If you're basing a dwarf army, the Dwarven Ruin basing bits pair well with the columns: carved stone among the natural rock.
Common problems and quick fixes
- Columns rock or won't sit flat: sand the underside flat on sandpaper laid on the desk, and glue the bottom layer before stacking.
- The model wobbles on the stack: you skipped the dry fit. Glue a low column under the loose foot, or file the column top flat.
- Drybrushing looks chalky or dusty: too much paint on the brush. Wipe more off, and use lighter pressure; a thin coat of the shade over the top tones down chalky patches.
- Tide marks from the wash: too much wash on a raised area. Soak the excess up while it's wet; once dry, a light drybrush hides most marks.
- White marks round glue joints: that's superglue frosting. Matt varnish or a wash hides it.
- Columns look too plain grey: add the blue-grey glaze, or more ochre and brown in the ground. Grey stone looks best against something warm.
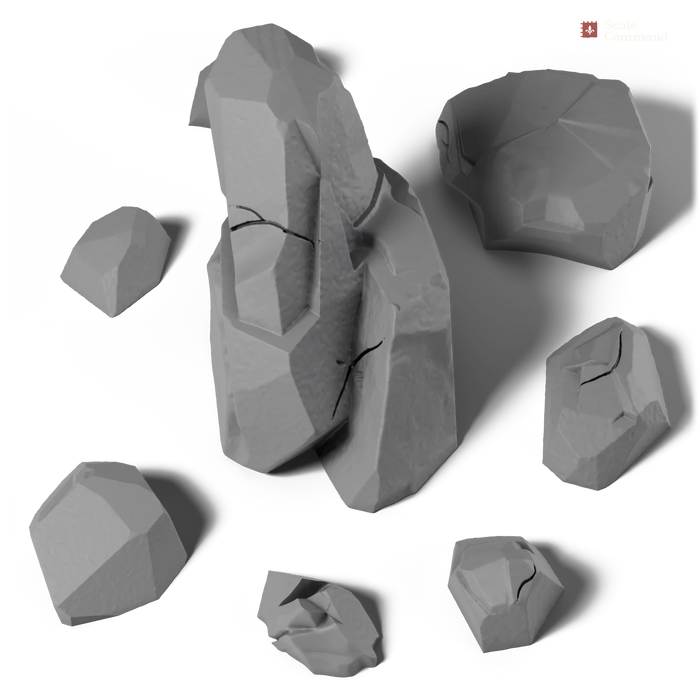
Build your own basalt outcrop. The Basalt Column Basing Bits come in grey resin, ready to clip, glue and paint. New here? Use FIRSTPACK for A$15 off an order of A$50 or more, one per customer (rules on our rewards page).
Get the basalt columns-
 New
-
New
-
New







Questions and answers
- How do you make a basalt column base for miniatures?
- Dry-fit the model on loose basalt columns, then superglue the columns into a stepped stack, tallest at the back. Fill the gaps with texture paste, prime black and seal with matt varnish. Drybrush grey, wash the ground ochre and brown, drybrush again, glaze the columns blue-grey, then add tufts and paint the rim.
- Should you varnish before drybrushing?
- A coat of matt varnish before drybrushing helps. The matt surface grips the small amount of paint on a dry brush, evens out shiny glue joints and primer, and protects the black undercoat from being rubbed through on sharp edges. A final matt coat before the tufts also takes the sheen off washes.
- How do you drybrush rocks without it looking chalky?
- Use a big soft round brush, take a little paint on the tips and wipe almost all of it off on paper towel. Brush quickly across the edges, not along them, and build the colour up in two or three light passes. Chalky rock means too much paint on the brush or too much pressure.
- What paints give a blue-grey basalt look?
- Over black primer, drybrush Dawnstone, then Administratum Grey, glaze the columns with thinned Russ Grey and pick out the top edges in Fenrisian Grey. Seraphim Sepia and Agrax Earthshade in the ground keep the base warm. Close swaps are The Army Painter Uniform Grey, Ash Grey, Wolf Grey, Soft Tone and Strong Tone.
- What glue should you use for resin basing bits?
- Superglue is the best glue for resin basing bits on a resin or plastic base. Gel superglue gives a few seconds to position each piece; thin superglue wicks into tight joints. A pin-head drop per piece is plenty. PVA is fine for sand and tufts, but too weak to hold stacked resin columns.
- Can you use basalt column basing bits at 10mm or 15mm?
- Our basalt column basing bits are made for 28mm-scale figures. The columns are 6 to 7 mm across and up to about 17 mm tall, so at 10mm or 15mm they would tower over the figures and swamp a small stand. Small-scale bases look best kept simple: a broad colour, sand, a drybrush and a little flock.
Shop this article
-
New
-
New
-
New
-
New
-
New
-
New
-
New