

Painting tutorials3D printingModels
Resin miniatures care: wash, glue, prime, fix a break, and is cured resin safe?
Our resin miniatures arrive cleaned and cured, so you don't need to wash them: prime them with any normal miniature primer, glue them with superglue (plastic cement won't touch resin), and pin any heavy joint or break. Bent spears straighten in hot, not boiling, water, and once resin is fully cured you handle it like any other hard plastic miniature, with a mask and water for sanding.

Updated 8 min readAll scales

On this page
Our resin miniatures arrive cleaned and cured, so you don't need to wash them: prime them with any normal miniature primer, glue them with superglue (plastic cement won't touch resin), and pin any heavy joint or break. Bent spears straighten in hot, not boiling, water, and once resin is fully cured you handle it like any other hard plastic miniature, with a mask and water for sanding. Here's every step, from the box to the painting desk, with photos from our own studio.
- Wash before priming?
- Not for our models: they're cleaned and cured before they ship
- Glue
- Superglue (CA), gel or thin
- Primer
- Any miniature primer, spray, airbrush or brush-on
- Bent part
- Hot (not boiling) water, hold straight, let it cool
 Out of the box
 Primed
 Painted
Do you need to wash resin miniatures before painting?
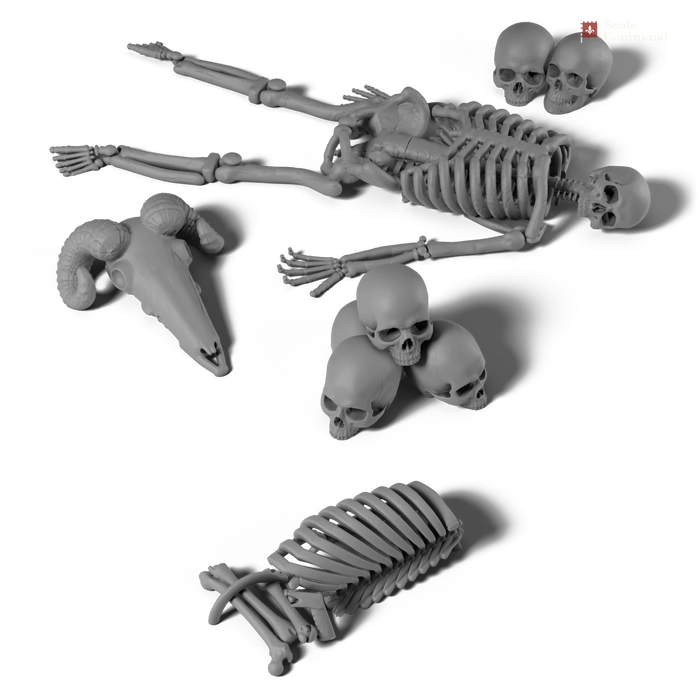
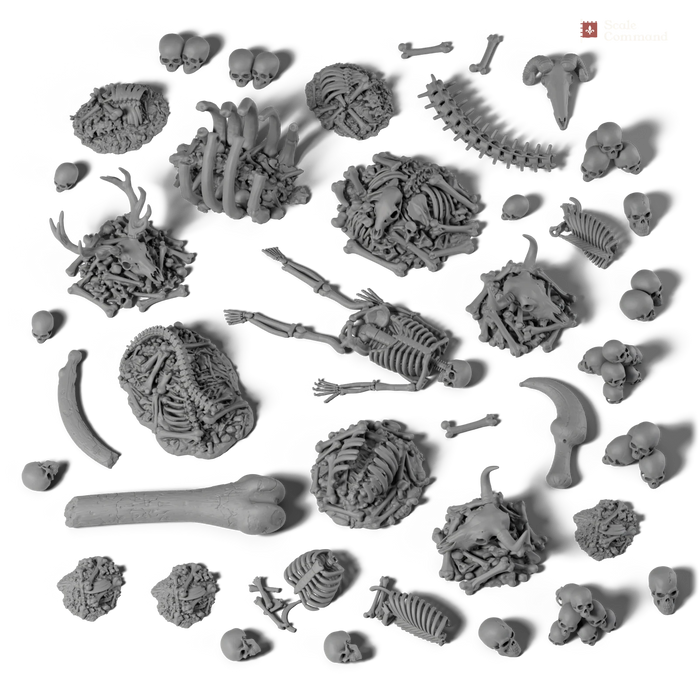
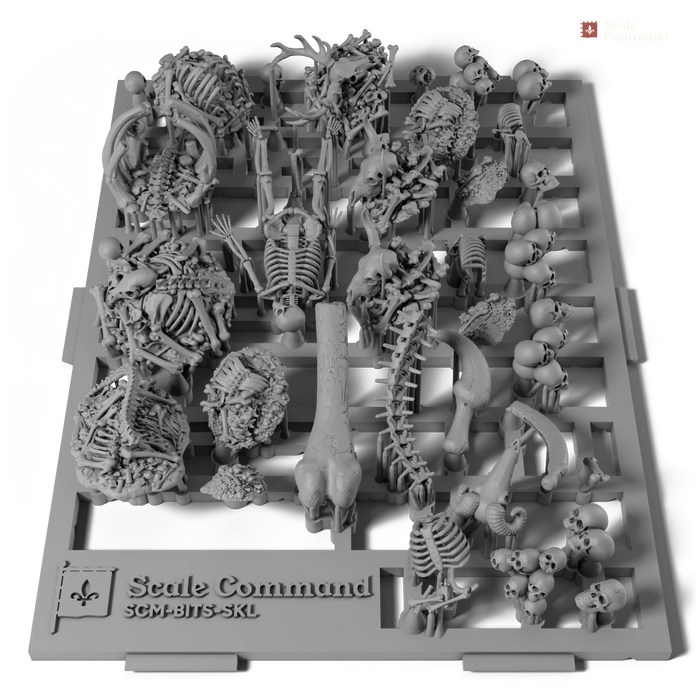
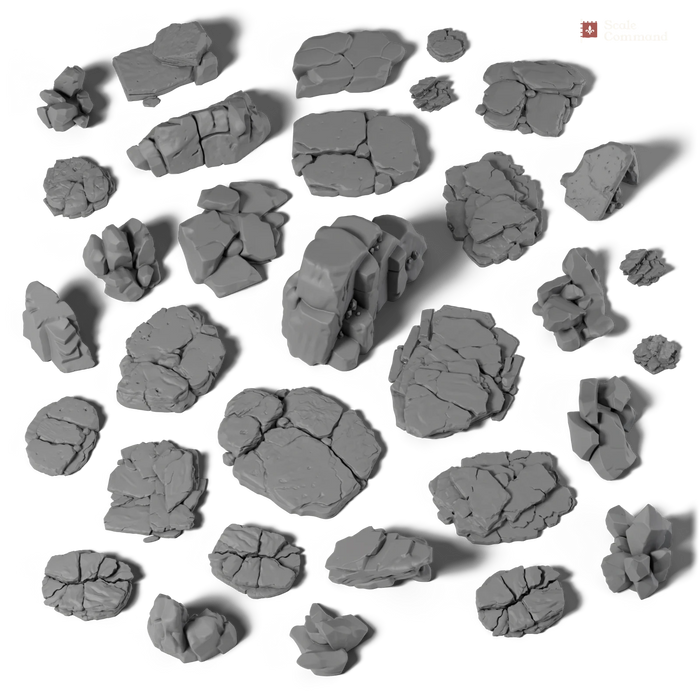
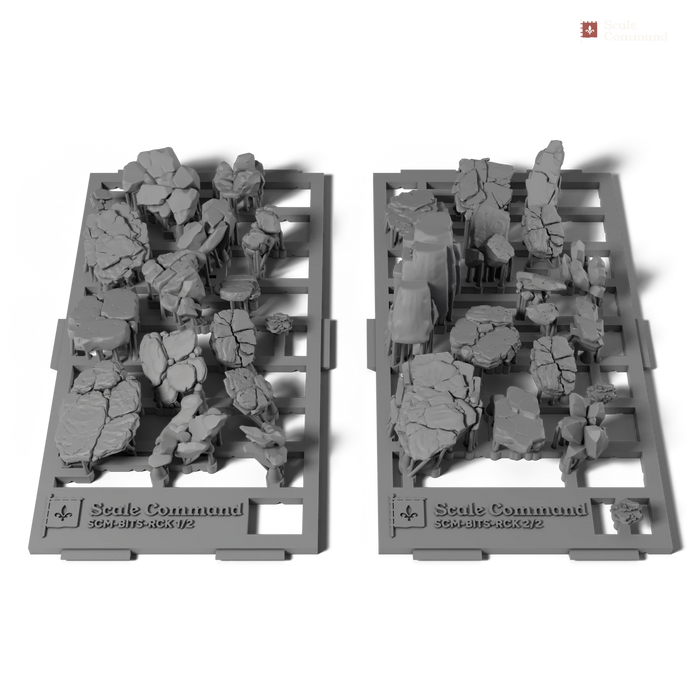
Not ours. Every model we sell is printed to order in our Perth workshop, then cleaned and cured before it leaves, so it's ready for your primer straight out of the box. Our basing bits and resin bases ship washed and cured too, on their print sprue.
A wash still helps in two cases. If a model has been handled a lot, or sat in a hot car or a dusty cupboard, skin oil and dust can stop primer gripping evenly. And if you've sanded or filed anything, the fine dust sits in the detail. Either way, give it a gentle scrub with an old soft toothbrush in warm water and a drop of dish soap, rinse it, and let it dry completely before you prime.
The washing you read about in 3D printing guides, in isopropyl alcohol, is a different job: that's how a printer cleans liquid resin off a fresh print before curing it under UV light. We do that in the workshop, so you never need to.
Removing supports and print marks
Resin prints grow from the printer's build plate on thin supports, which touch the model at small points. Our basing bits and bases come on their print sprue, a little like a plastic kit, so the delicate pieces travel safely. If any model or bit you get has supports, little nubs or a raft attached, here's how to clean it up:
-
Clip, don't twist
Use sharp flush cutters and snip each support right where it meets the part, flat side towards the model. Twisting or snapping supports off can pull a chip out of the surface or snap a thin part with it.
-
Scrape the contact points
Shave each little nub flush with a sharp hobby knife, cutting away from your fingers. Resin is hard, so take thin passes rather than one deep cut.
-
Smooth it, wet
For anything a knife leaves behind, a fine sanding stick or wet-and-dry paper used wet keeps the dust down and gives a smoother finish. Rinse the part afterwards.
 Off the printer

What glue should you use for resin miniatures?
Superglue. Cyanoacrylate (CA) glue, sold as superglue, bonds resin to resin, plastic, metal and MDF. Gel superglue gives you a few seconds to line parts up and fills small gaps; thin superglue wicks into a tight joint you've already pressed together. A pin-head drop is plenty for most joints, and too much just squeezes out and blurs the detail.
Plastic cement doesn't work on resin. Polystyrene cement glues plastic kits by melting the two surfaces together, and resin doesn't melt that way, so the joint never takes. Use it only for plastic to plastic.
PVA (white glue) is for sand, grit and grass tufts on the base, not for holding resin parts. An accelerator spray, sometimes called kicker, sets superglue in seconds, which helps when you can't hold a part still; use it sparingly, as it can leave a white bloom on the surface.

Do you need to prime resin miniatures?
Yes. Acrylic paint grips primer far better than bare resin, and primer evens out the colour, so you can see the detail and your first coats go on smoothly. Any primer made for miniatures works on resin, the same as on plastic or metal.
| Primer | Good for | Watch out for |
|---|---|---|
| Rattle can (spray) | Fast, even coats on a whole unit or army | Spray outdoors, on a dry, mild day: cold or humid air gives a rough, grainy finish |
| Airbrush primer | Thin coats that keep fine detail sharp | Needs an airbrush, a compressor and somewhere ventilated |
| Brush-on primer | Small jobs, touch-ups, painting indoors | Thin it a little and use two light coats, or it can pool in recesses |
Black, grey and white primer all work; pick the one closest to your finished colours. Hold the can or airbrush about 20 to 30 cm away and build up two or three light passes from different angles rather than one heavy coat, which floods the detail. The dragon in the photos above was primed black.
How do you fix a bent spear, lance or sword?
Thin resin parts can bend in the post. The fix is gentle heat:
-
Dip it in hot water
Dip just the bent part in hot (not boiling) water for a few seconds, until it softens a little.
-
Hold it straight
Straighten it gently with your fingers and hold it in place.
-
Let it cool
Run it under cold water, or let it cool in the air while you hold it, and it sets straight.
Don't use boiling water, and don't hold a lighter or hot-air gun near it: too much heat can soften the whole model or scorch it. If a part arrives broken rather than bent, contact us within 30 days of delivery with your order number and a photo, and we'll send a replacement or refund you.
How do you fix a broken resin miniature?
Most breaks are a spear tip, a sword or an arm, and they glue back cleanly. For anything bigger or under load, like a rider on a horse, a big weapon or a wing, add a pin.
-
Clean up the break
Brush off any loose crumbs, and check both halves fit snugly. Don't sand the break flat: the rough edges help the parts line up.
-
Glue small parts straight on
For a thin part, put a tiny drop of thin superglue on one face, press the halves together for 20 to 30 seconds, then leave it to cure fully before you handle it. A light mist of accelerator sets it instantly.
-
Pin heavy joints
Drill a small hole into the centre of each face with a hand drill (a pin vice) and a 0.5 to 1 mm bit, and glue in a short piece of brass rod or a cut paperclip so it bridges the joint. Line the holes up by dabbing paint on the first pin end and pressing the parts together: the dot marks where to drill the second hole.
-
Fill and paint over it
Fill any gap with a little modelling putty or gel superglue, smooth it, then prime and paint over the repair.
Is cured resin safe to handle?
Liquid resin is the hazardous stage: it can irritate skin and eyes, which is why printers wear gloves and work in a ventilated space. Once a print has been washed and fully cured, it's handled, glued and painted like any other hard plastic miniature, and that's the state every model leaves our workshop in.
A few sensible habits still apply, as with any model kit:
- Sand wet, and wear a mask. Sanding, filing or drilling resin makes fine dust. Wet sanding keeps it down; wear a dust mask when sanding or cutting, and wipe the dust up with a damp cloth rather than blowing it away.
- Wash your hands after sanding or cleaning up a model, and before eating.
- Keep it away from little ones. Our models aren't toys: they have small parts and aren't suitable for children under 14.
- Don't burn it or heat it hard. Hot water for a bent part is fine; a flame or hot-air gun isn't.
Painting a lot of resin, or printing your own? Read the safety notes that come with your resin, primer and paints, and follow them. More on how resin printing works: resin vs filament for miniatures.
Storing and carrying resin models
Keep painted and unpainted resin out of strong sun and away from hot spots like a car dashboard or a window sill: heat and long UV exposure can bend thin parts or fade paint over time. Carry models standing up in a foam-lined case or a magnetised box, and pick them up by the base, not by the spear. A coat of matt varnish over finished paint protects it from handling.
Quick reference
| Job | What to use | Don't |
|---|---|---|
| Washing | Nothing for our models; warm soapy water if handled a lot or sanded | Soak painted models or use harsh solvents |
| Removing supports | Flush cutters, then a hobby knife | Twist or snap supports off |
| Gluing | Superglue (CA), gel or thin | Use plastic cement on resin |
| Priming | Any miniature primer: spray, airbrush or brush-on | Spray in cold or humid weather |
| Bent part | Hot (not boiling) water, hold straight, cool | Use a flame or hot-air gun |
| Break | Superglue; pin heavy joints with brass rod | Sand the break flat |
| Sanding | Wet-and-dry paper used wet, and a dust mask | Sand dry without a mask |
Ready to base them? Our basing guide takes you from bare base to finished scene, and resin vs plastic miniatures compares the two materials for figures and basing bits.
-
 MonstersCommandWakes Emporium Morghei Witch Emperor on Alpha Arcteroptix Monsters · Command · 1 model From $29.0010mm
-
 Archers
-
 New



Rather skip the prep? Every model in the shop is printed to order in resin in our Perth workshop and arrives cleaned and cured, ready for your primer, or tabletop painted by our studio and ready to play.
Shop miniaturesQuestions and answers
- Do resin miniatures need washing before painting?
- Ours don't. Every model we sell is cleaned and cured in our Perth workshop before it ships, so it's ready for primer straight out of the box. Give a model a gentle scrub in warm, soapy water only if it has been handled a lot or sanded, then let it dry completely before priming.
- What glue works on resin miniatures?
- Superglue, also called CA glue, is the glue for resin. Gel superglue lets you line parts up and fills small gaps, while thin superglue wicks into tight joints. Plastic cement doesn't work on resin, because it glues polystyrene kits by melting the plastic, and resin doesn't melt that way.
- Do you need to prime resin miniatures?
- Yes. Paint grips primer far better than bare resin, and an even primer coat shows the detail and helps the first colours go on smoothly. Any miniature primer works on resin: a spray can, airbrush primer or brush-on primer. Use two or three light coats rather than one heavy coat that floods the detail.
- How do you fix a bent spear on a resin miniature?
- Dip the bent part in hot, not boiling, water for a few seconds so it softens a little. Straighten it gently with your fingers, hold it in place, then let it cool or run it under cold water, and it sets straight. Never use a flame or hot-air gun, which can soften or scorch the model.
- How do you repair a broken resin miniature?
- Glue small breaks straight back with a tiny drop of thin superglue and hold them for 20 to 30 seconds. For heavy joints like a rider, a wing or a big weapon, drill a small hole in each face and glue in a short brass rod as a pin. Fill any gap with putty, then prime and paint.
- Is cured resin safe to handle?
- Washed and fully cured resin is handled and painted like any other hard plastic miniature. Liquid resin is the hazardous stage, and that stays in the workshop. When you sand, file or drill resin, sand wet, wear a dust mask and wash your hands afterwards. Our models have small parts and aren't toys.
Shop this article
-
MonstersCommandWakes Emporium Morghei Witch Emperor on Alpha Arcteroptix Monsters · Command · 1 model From $29.0010mm
-
Archers
-
New
-
New
-
New
-
New