

Base first or paint first? The order that saves you touch-ups
Do the messy basing jobs before you paint and the tidy ones after: glue on the basing bits and the sand or texture, prime the model and base together, paint the figure, then paint the base, with the varnish, tufts and rim at the very end. If the model is already painted, or it's a big model with a busy base, build and paint the base on its own and glue the finished figure on last.

Updated 8 min read28mm

On this page
Do the messy basing jobs before you paint and the tidy ones after: glue on the basing bits and the sand or texture, prime the model and base together, paint the figure, then paint the base, with the varnish, tufts and rim at the very end. If the model is already painted, or it's a big model with a busy base, build and paint the base on its own and glue the finished figure on last. This guide sets out the three orders people use, what each one is good and bad at, and the order we recommend, with frames from our own footage of two bases being built.
- Short answer
- Texture before priming, base paint after the figure
- Always last
- Varnish, then tufts, then the rim
- Painted already?
- Base it separately, glue the figure on last
- Works on
- 28mm bases (10mm and 15mm: see below)
Should you base before or after painting?
Both, in two halves. The jobs that make dust, drips and glue strings (sand, grit, texture paste, gluing on rocks and basing bits) go before the primer, so the primer locks the loose grains down and nothing messy happens near finished paint. The jobs that need a steady hand and clean colours (painting the ground, drybrushing, tufts, the rim) go after the figure is painted, so a slip on the base never lands on a finished cloak.
The question people really ask is which half the figure's painting goes between. That gives three common orders:
| Order | How it goes | Good for | Watch out for |
|---|---|---|---|
| 1. Texture first (our pick for units) | Glue the figure and bits, add texture, prime everything together, paint the figure, paint the base | Rank-and-file units, batch painting, beginners | The base gets in the way of the brush on low details like boots and robes |
| 2. Paint first, base after | Prime and paint the figure on a bare base, then add texture round its feet and paint the ground | Painters who want clear access to the whole figure | Glue and sand near painted feet; the texture can't be primed with a spray any more |
| 3. Separate base | Build and paint the base on its own, paint the figure on a handle, glue the figure on last | Characters, big models, busy scenic bases, already-painted models | Footing has to be planned up front; heavy models need pinning |
Whichever order you choose, three steps always come last and in this sequence: matt varnish, then tufts or static grass, then the rim. More on that below.
Order 1: texture before priming
This is the order in our step-by-step basing guide, and the one we recommend for most units. Glue the figure to its base, glue on any large basing bits, brush PVA over the bare base and dip it in sand (or spread a texture paste), and let it dry. Then prime the whole thing in one go. The primer soaks into the sand and glues down loose grains, the figure and base share one undercoat, and you only handle each model through the messy stage once.


- Why it works: sand and paste are the messiest things you'll put on a model, and doing them before any paint means a slip costs nothing. Dry texture also gives the primer something to grip.
- Why it's the best order for units: you can texture twenty bases in one sitting, prime them all together and paint them as a batch. Every base gets the same ground, which is what makes a unit look like a unit.
- The catch: the base is right under the brush when you paint boots, hems and tails. Paint the figure first and the base second, so any splash on the ground gets covered by the base colours.
Which glue holds sand and which holds resin bits, and how to seal the finished base so it survives handling, is in which glue holds sand and basing bits.
Order 2: paint the figure, then the base
Some painters prime and paint the figure on a plain base and only texture it at the end, so nothing gets in the way of the brush. That works, with two changes:
- Use a texture paint or paste instead of loose sand. It goes on with a brush exactly where you want it and doesn't scatter grains into finished paint. Keep it a millimetre clear of the feet and tidy up with the ground colour.
- Paint the texture by brush. You can't spray primer over the base without hitting the painted figure, so a texture paint that's already a ground colour saves a step; otherwise brush on a coat of primer or a dark basecoat first.
This order is fine for a single figure, but slow for a unit, and the gluing stage is the riskiest moment for the paint job. If you like having the figure clear of the base while you paint, order 3 does that more cleanly.
Order 3: build and paint the base on its own
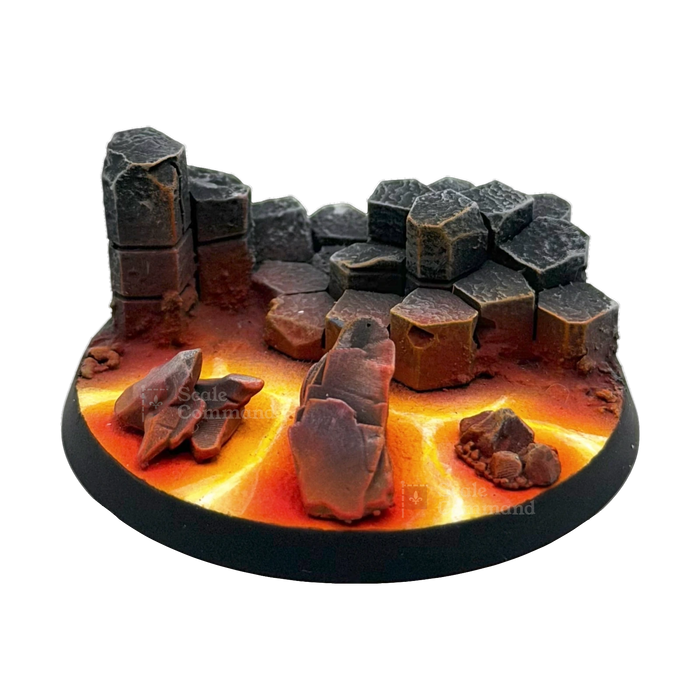
For characters, big models and busy scenic bases, we build the base as its own little project and glue the finished figure on at the end. That's how the base under our painted dwarf was made: the dwarf was painted off the base, the basalt columns were glued, textured, primed and painted on their own, and the dwarf went on last. The full build is in how to base a dwarf on basalt columns.


- Plan the footing before anything is glued. Dry-fit the figure on the loose bits and make sure each foot has a flat spot to stand on. A test fit after priming, as in the middle frame, catches any gap the texture has made.
- Give the glue bare material to grip. Superglue holds best on bare resin or plastic. Scrape a little paint off the soles of the feet and the spot they'll stand on before you glue.
- Pin heavy models. Drill a small hole up into one foot and down into the base and glue a short length of wire into both. It's the difference between a model that survives a fall and one that snaps at the ankles.
This is also the only order that works for a model that's already painted: build and finish a new base, then glue the figure on. If the figure is stuck to its old base, rebase it by cutting the old base away round its feet, or base over the top with texture paint, brushed on carefully.
When do basing bits go on?
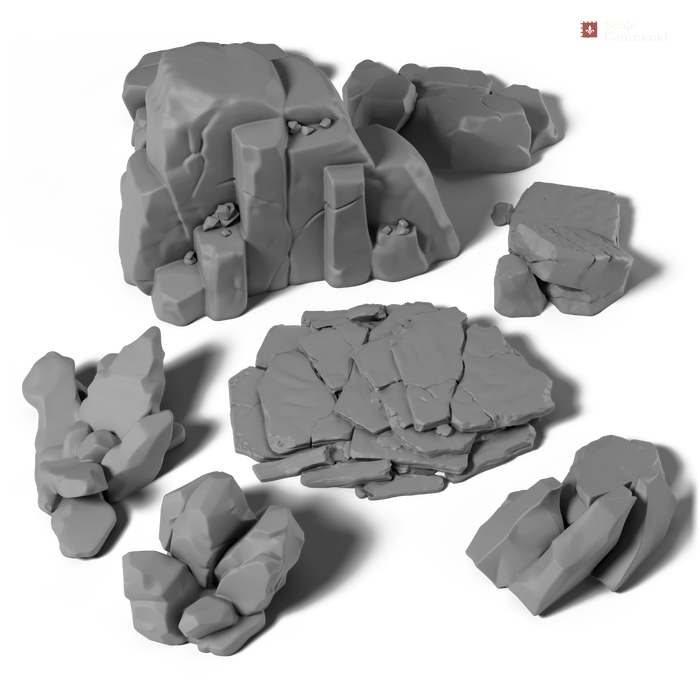
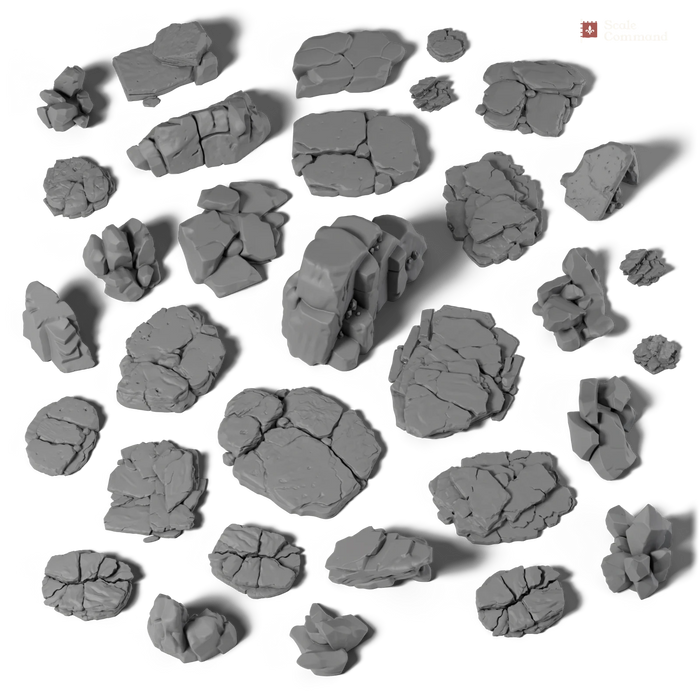
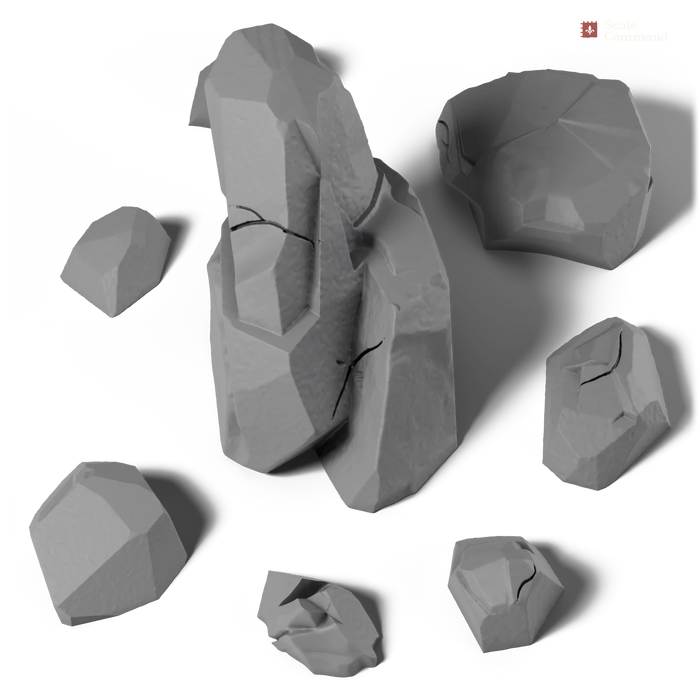
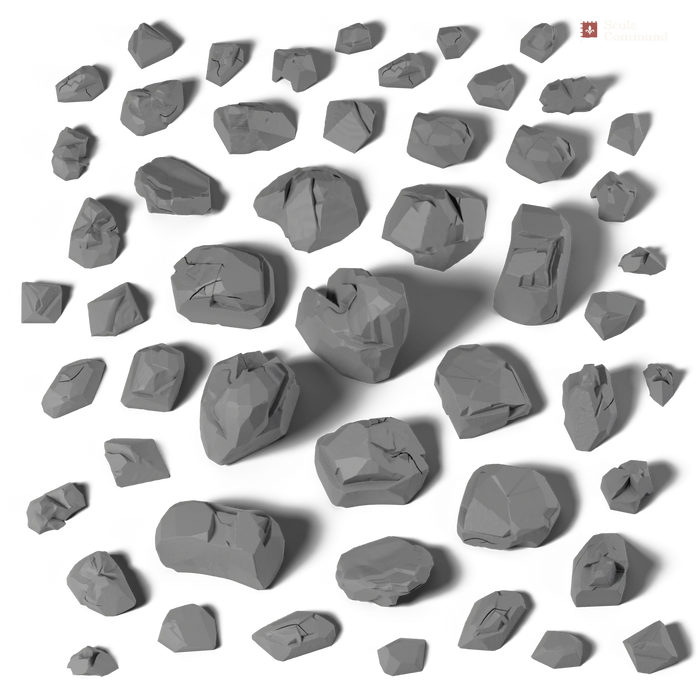
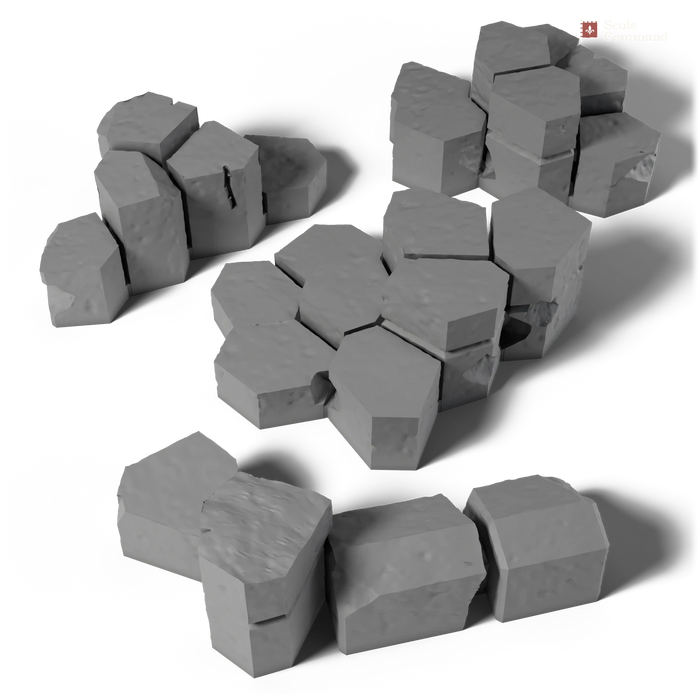
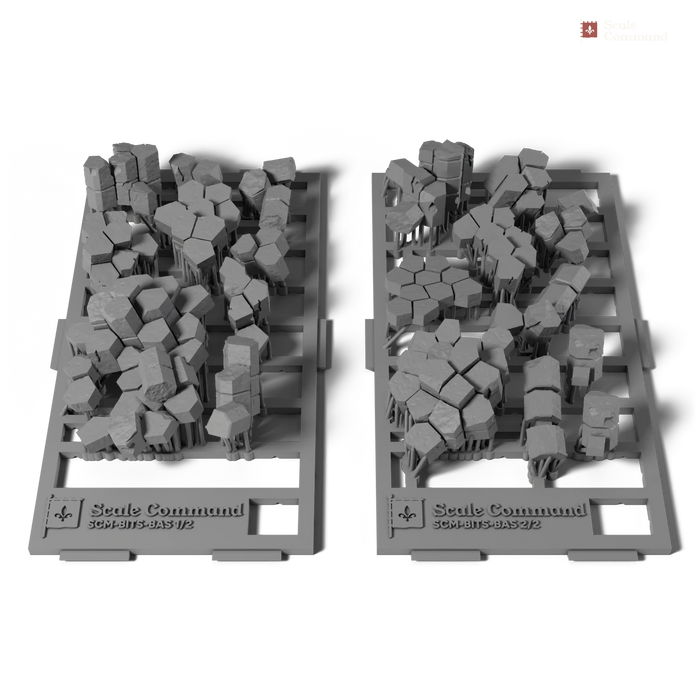
Large pieces that the ground should flow round, like rocks, stumps, ruins and columns, go on before the texture, so the sand or paste beds them in and they look like they're sitting in the ground rather than on it. Prime them with the base. Our Rock Clump and Small Rock basing bits are made for this step.
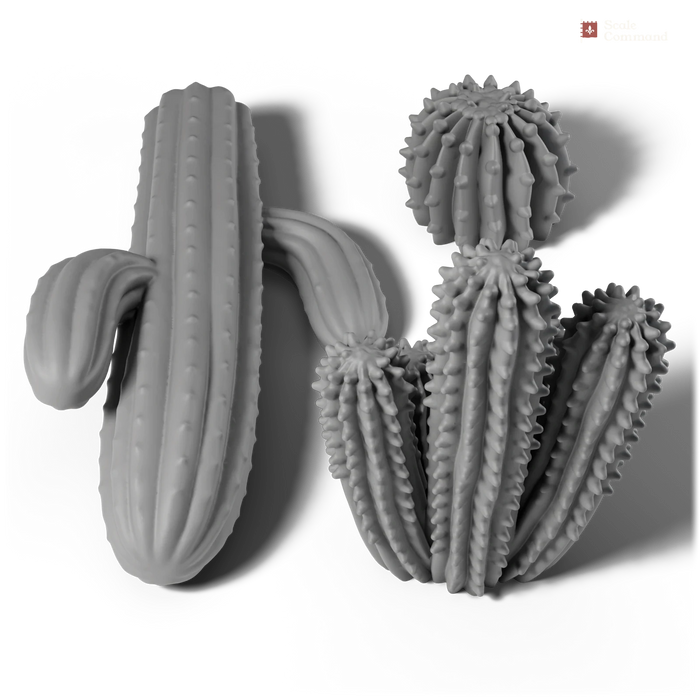
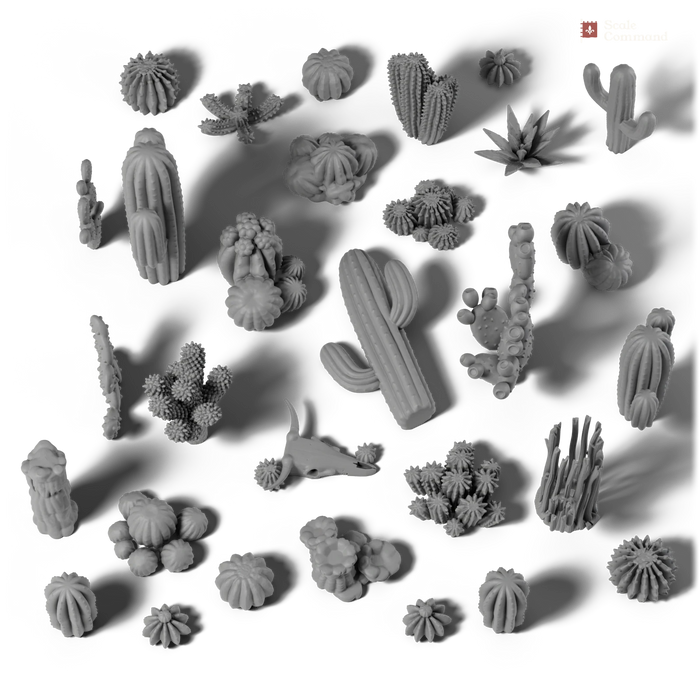
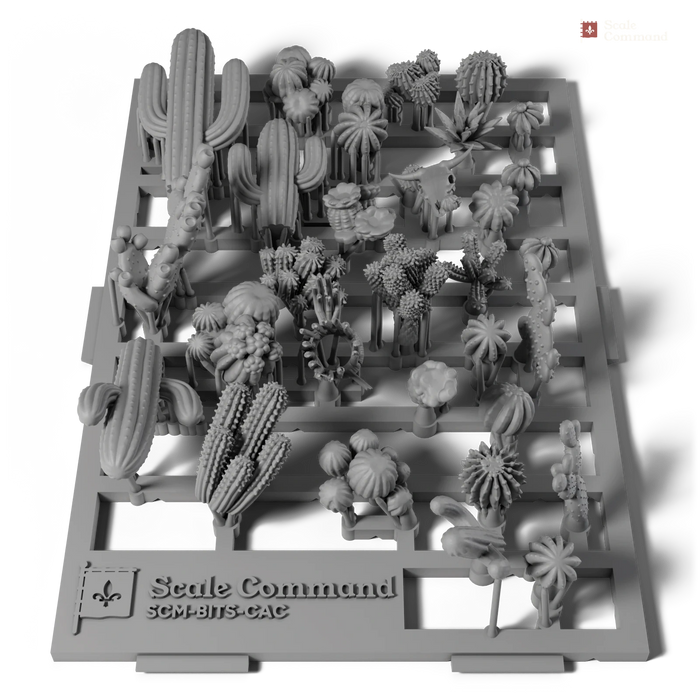
Small, colourful pieces are often easier painted off the base and glued on at the end. On our desert base, the cacti were each stuck to a painting handle with poster putty, painted on their own, then laid out round the finished ground and glued down. Painting a cactus green next to a red base would have meant touching up both.


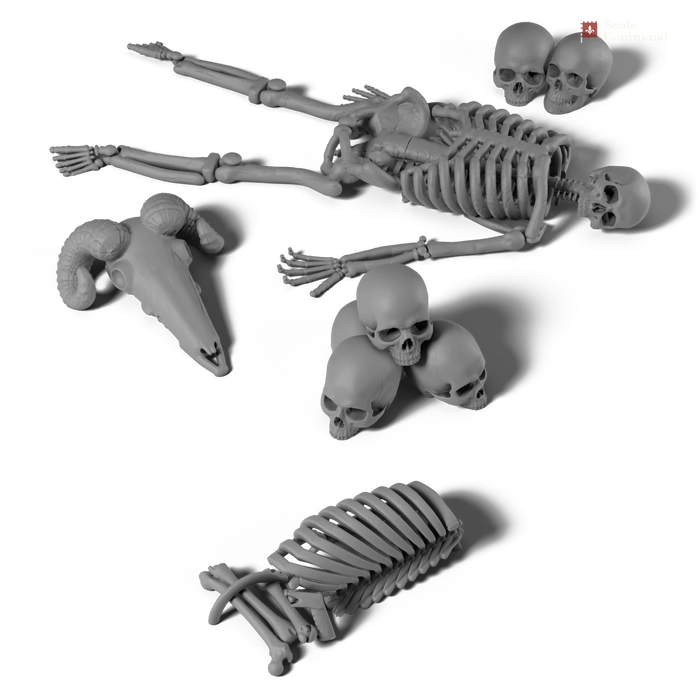
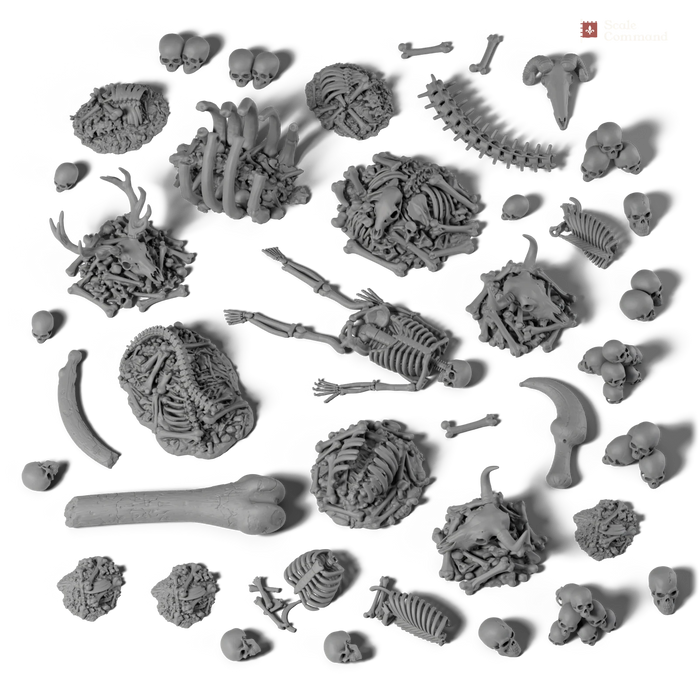
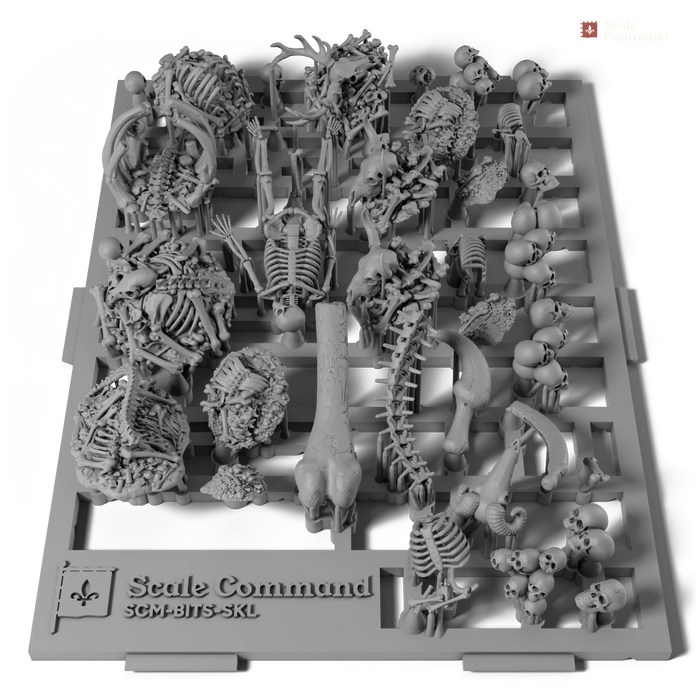
The pieces on that base are our Desert Cacti and Skulls & Bones basing bits. Our basing bits arrive washed and cured, so they're ready for primer; how to clean, glue and prime resin is in resin miniatures care.
What always goes last: varnish, tufts and the rim
-
Matt varnish
Varnish the whole model and base once all the paint is dry. It protects the drybrushing on the base, which is the first thing fingers rub off, and takes the shine off glue and washes.
-
Tufts and grass
Tufts, static grass and flock go on after the varnish, because a coat of varnish over them flattens the fibres and makes them shiny. Press tufts on with tweezers and a dab of glue. What each type does is in flock, static grass or tufts.
-
The rim
Paint the rim after everything else, so it covers any texture, wash or basecoat that ran over the edge. On our desert base the red basecoat went right over the rim and was painted black at the very end. Which colour to choose is in what colour base rims should be.
The order we recommend, step by step
For a unit of 28mm figures on single bases:
- Clean up the figures and bases, then glue each figure to its base.
- Glue on the larger basing bits.
- Add sand, grit or texture paste round the feet and the bits; let it dry fully.
- Prime the figure and base together.
- Paint the figure.
- Paint the base: basecoat, wash, drybrush.
- Glue on any small bits you painted separately.
- Matt varnish.
- Tufts or static grass.
- Paint the rim, the same colour on every base.
For a character or a big model, use order 3: steps 2–4 and 6 on the base alone, step 5 on a handle, and glue the figure on before the varnish.
Which order for 10mm and 15mm stands?
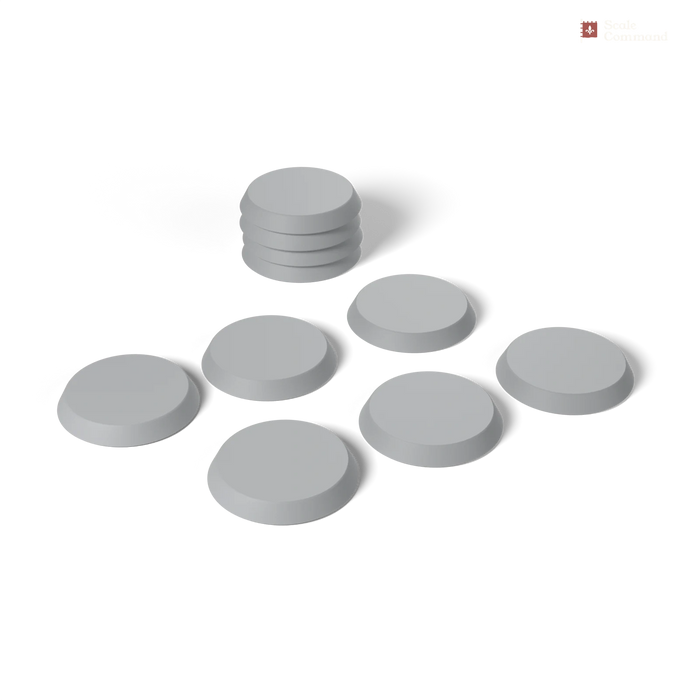
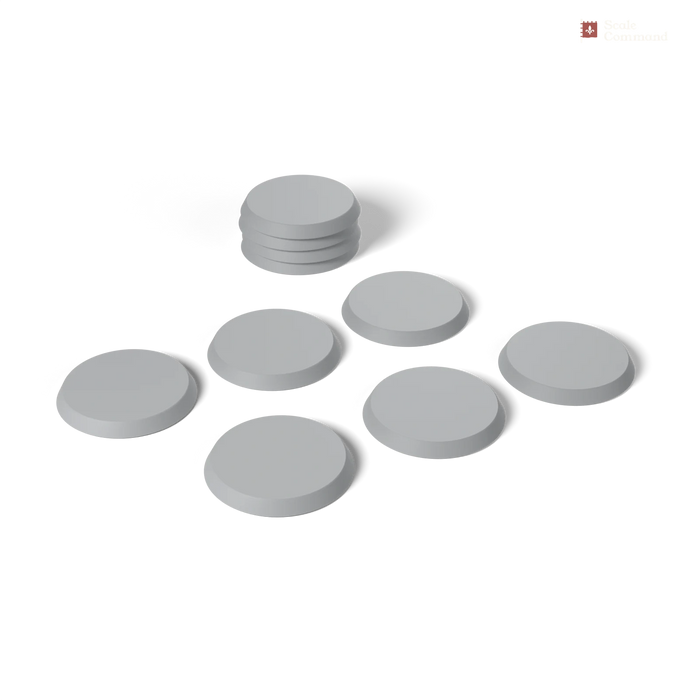
At small scales, glue the figures to the stand first, then texture the gaps, and paint the figures and the stand together. Several figures share one base, and there's no way to slide a brush between them once they're glued, so painting the ground last with a small brush is the practical order. The full method is in how to base 10mm and 15mm armies on multi-bases; our Movement Plates are the stands we use.
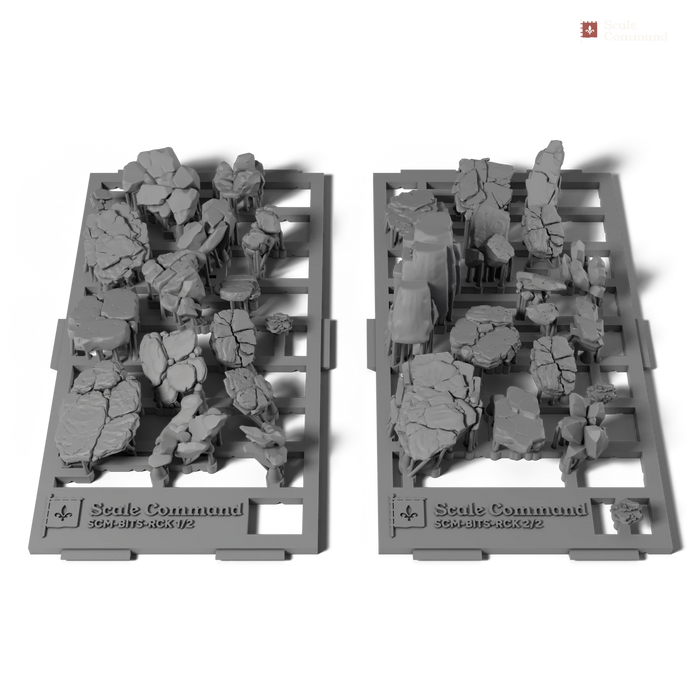
Bits that go on before the primer. Our resin basing bits are made for 28mm bases and printed to order in our Perth workshop, in theme packs from desert and woodland to ruins and lava.
See all basing bits-
 New
-
New
-
New
-
New









Questions and answers
- Should you base miniatures before or after painting?
- Do the messy part before and the tidy part after. Glue on basing bits and add sand or texture before priming, so the primer locks the grains down. Paint the figure, then paint the base, then add varnish, tufts and the rim last. For big models, build the base separately and glue the figure on at the end.
- Do you put sand on the base before or after priming?
- Before. Glue the sand down with PVA, let it dry fully, then prime the model and base together. The primer soaks into the sand and glues down any loose grains, and the whole model gets one undercoat. If the figure is already painted, use a brush-on texture paint instead of loose sand.
- When do you add tufts to a miniature base?
- Tufts go on at the very end, after the base is painted and after any matt varnish. Varnish sprayed over tufts flattens the fibres and leaves them shiny. Put a small dab of PVA or superglue where the tuft goes, pick it off its sheet with tweezers and press it down for a few seconds.
- Can you base a miniature that's already painted?
- Yes. Build and paint a new base on its own, then scrape a little paint off the soles of the feet and glue the figure on with superglue. Pin heavy models with a short length of wire. If the figure is stuck to a plain base, brush texture paint round its feet carefully and paint the ground by hand.
- Do you paint basing bits before or after gluing them on?
- Large bits like rocks and stumps are best glued on first, so texture can bed them in, then primed and painted with the base. Small colourful pieces, like cacti or mushrooms, are often easier painted separately on a handle with poster putty and glued onto the finished ground at the end.
- When should you paint the base rim?
- Paint the rim last, after the ground, varnish and tufts. Basecoats, washes and texture always creep over the edge, and a rim painted at the end covers all of it in one neat coat. Hold the brush flat against the side and turn the base rather than the brush.
Shop this article
-
New
-
New
-
New
-
New
-
New
-
New